


I just made a new skirt from a colourful piece of fabric I found at the bottom of my materials tub and some yellow cotton from a garage sale.
- Total cost – maybe $2
- Time to make: 90 minutes
- How many others skirts will you find like this: none, it’s an original.
 |
| My new summer wrap skirt |
It’s a simple cotton wrap skirt with a bit of swing – nice and cool for summer. I could also use it in cooler weather with leggings. There are no buttons or zips or tricky bits – great for ‘whipping up’ quickly, and an excellent project for beginners.
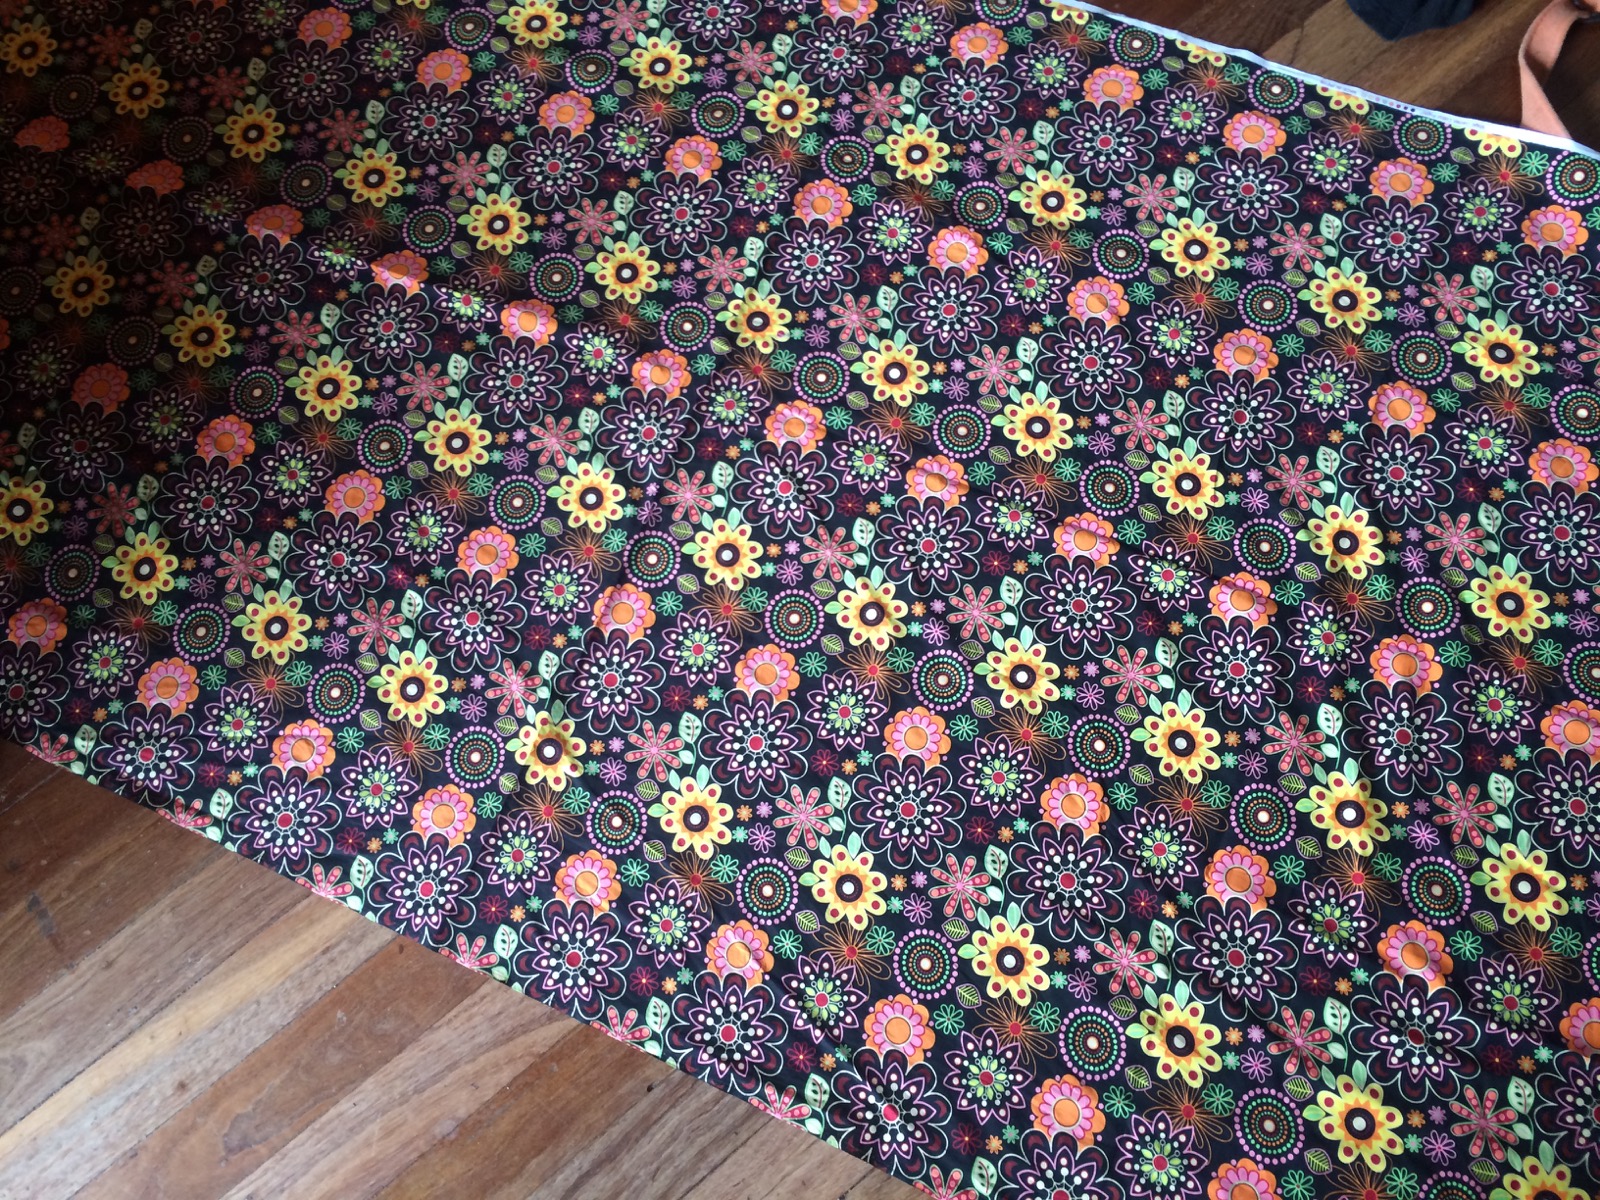 |
| I lay my new fabric on the floor – I don’t have a cutting table big enough to see the whole thing once. |
I really love the simplicity and the fit. Wrap skirts also give you a bit more flexibility if, like me, you find that you’re not consistently the same size around the middle.
 |
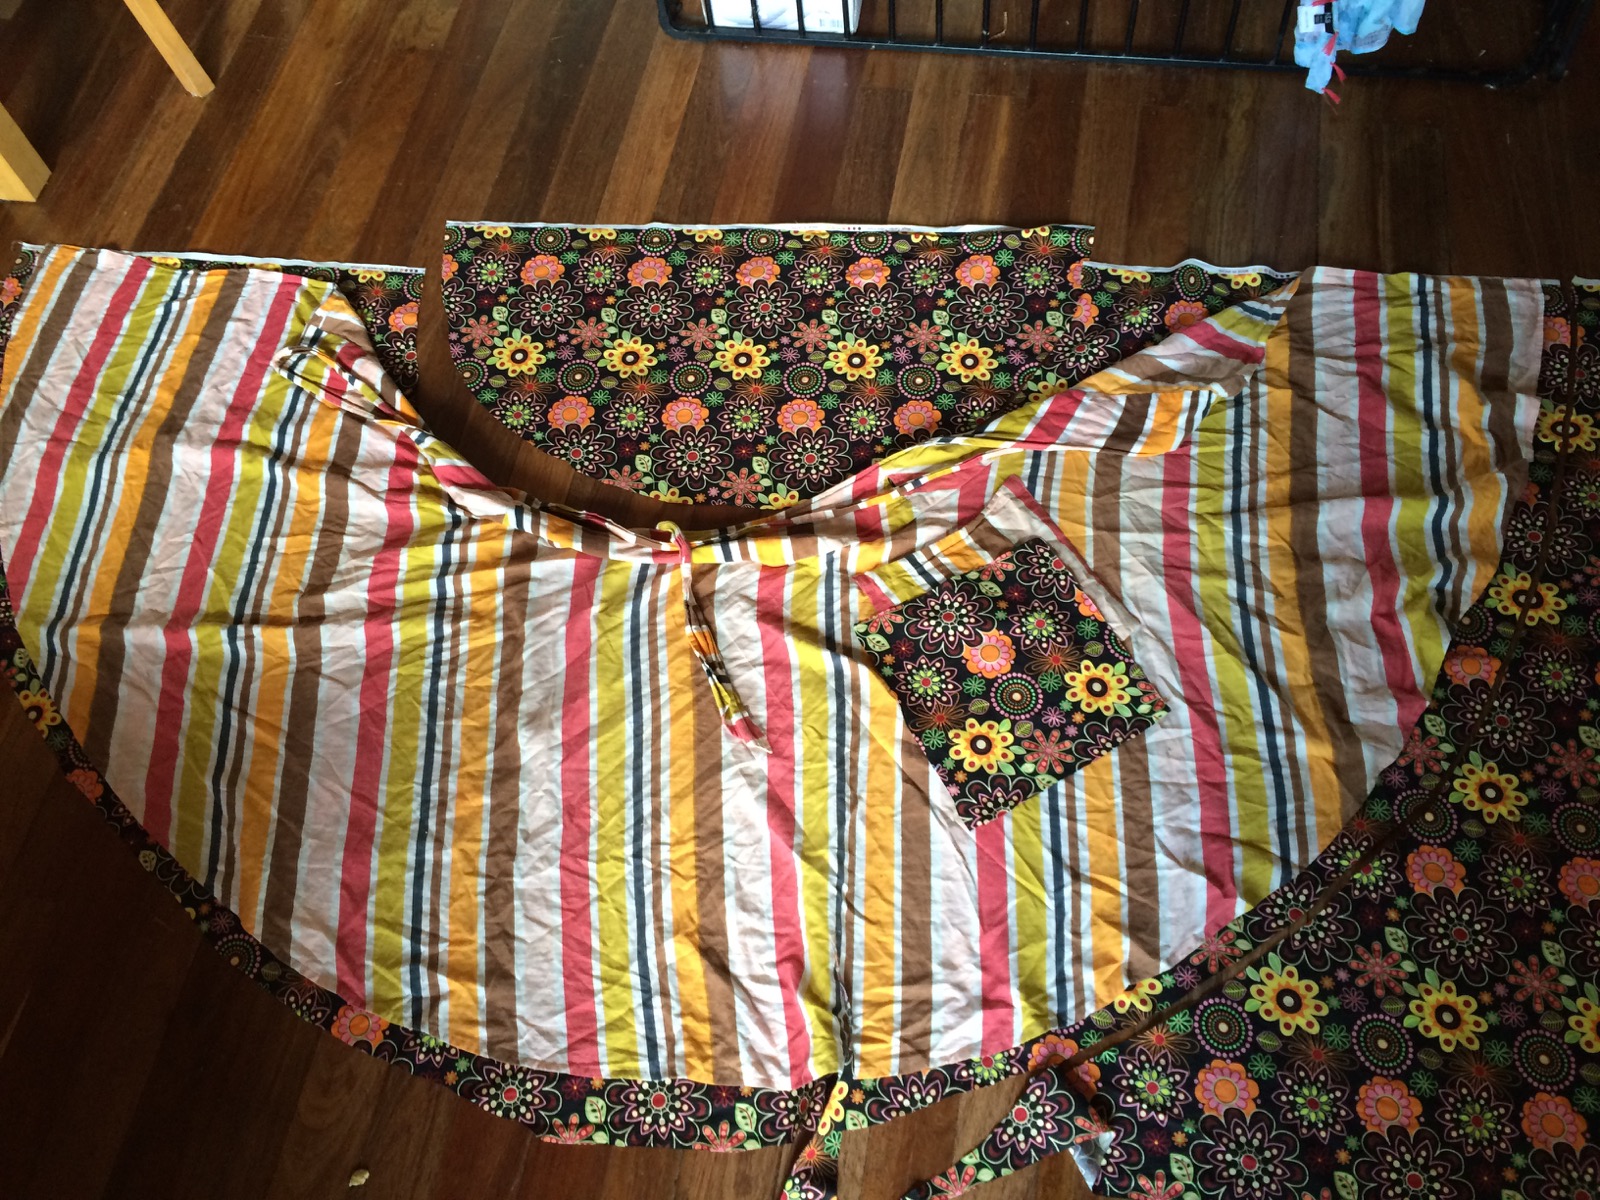
| Next I lay the old skirt on top. I make sure that I have about 5cm space around the edges for the hems and seams. I also try to get it as close to one side as possible, to leave enough fabric for pockets, ties and waist bands. |
I tend to have only a couple of favourite skirts, and when they wear out, I like to copy and sometimes adapt the design.
Here’s a few photos of the process (I got so into the sewing I forgot to take pics after the cutting – oops).
 |
|
|
When I was sixteen, my parents gave me a little sewing machine and lessons with the local seamstress a few doors down.
I still use this same machine and have well and truly made the most of the skills my mum and Mrs Percy passed on.
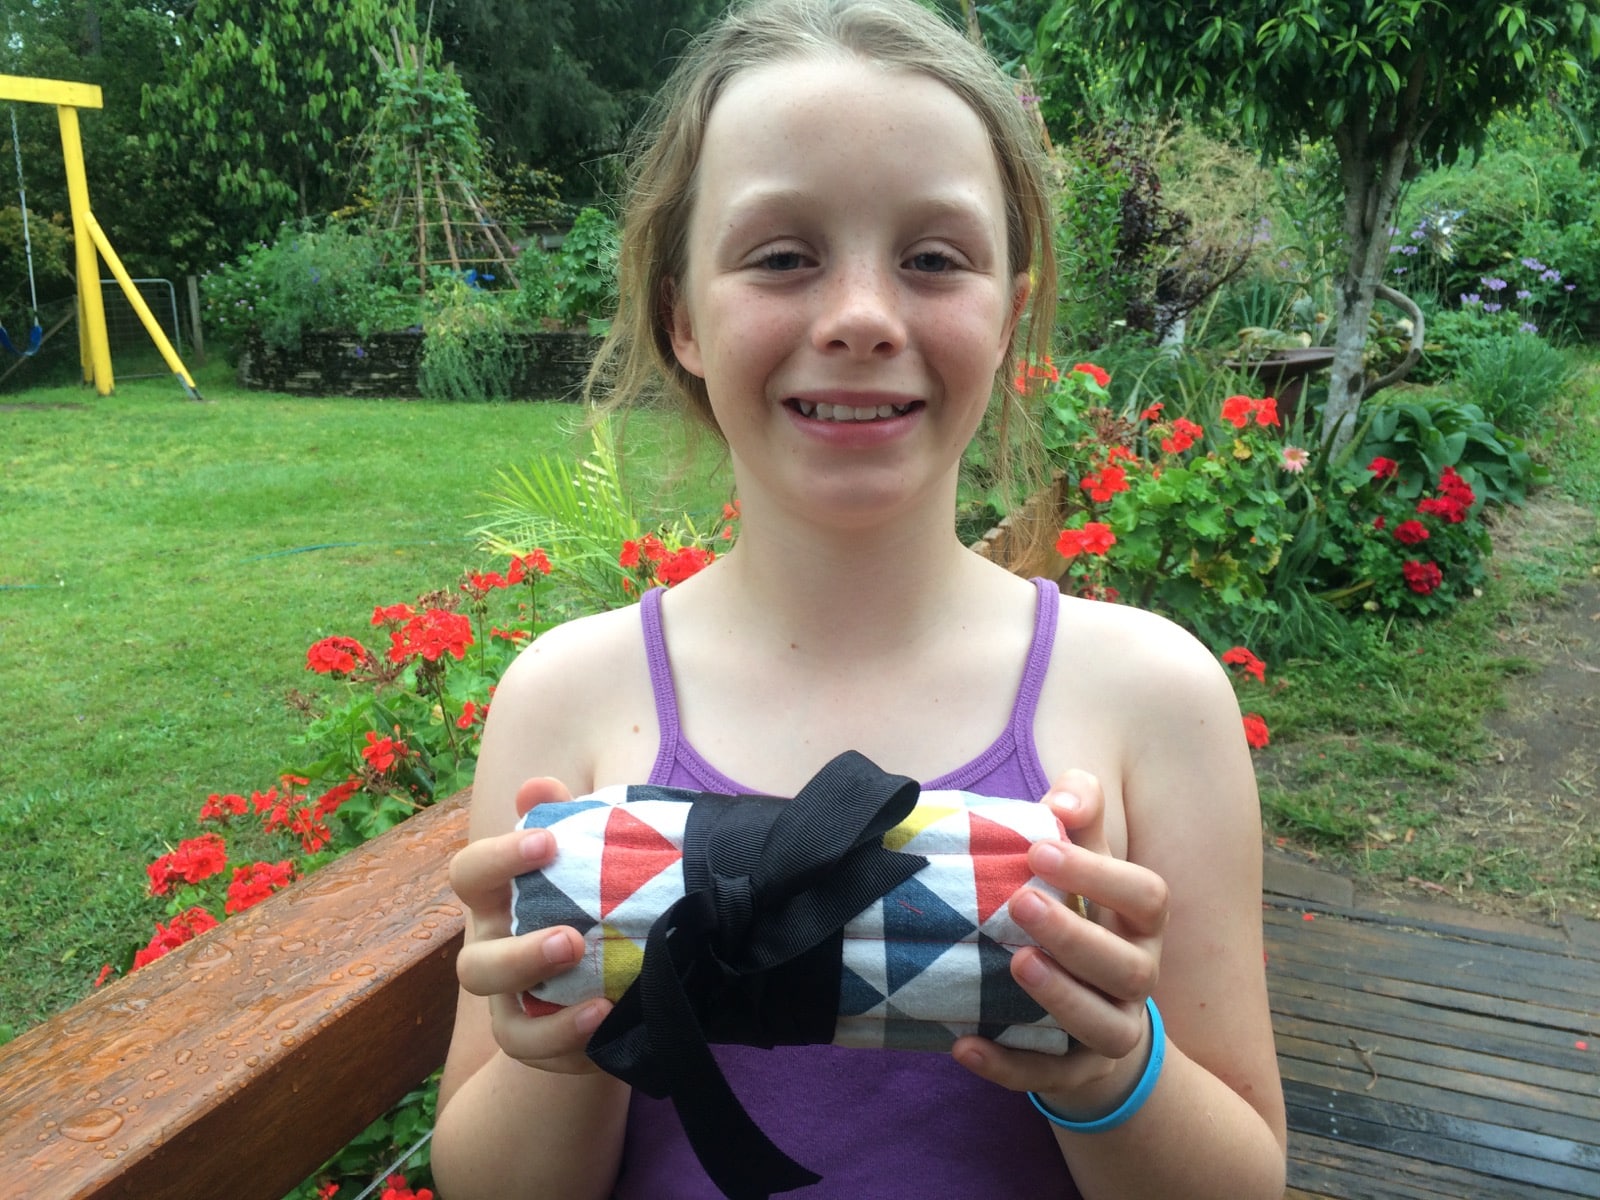 |
| Maia’s pencil roll to hold all her colour pencils, watercolour pencils and graphite pens. It was made from an old tea towel, a fabric offcut and a little bit of broad ribbon. |
My mum has been a great sewing mentor – she always makes her own clothes, and mends them. It’s something I remember she’s always done. It’s not only an economical thing to do, but you can get exactly the colour, the fit and the fabric you want.
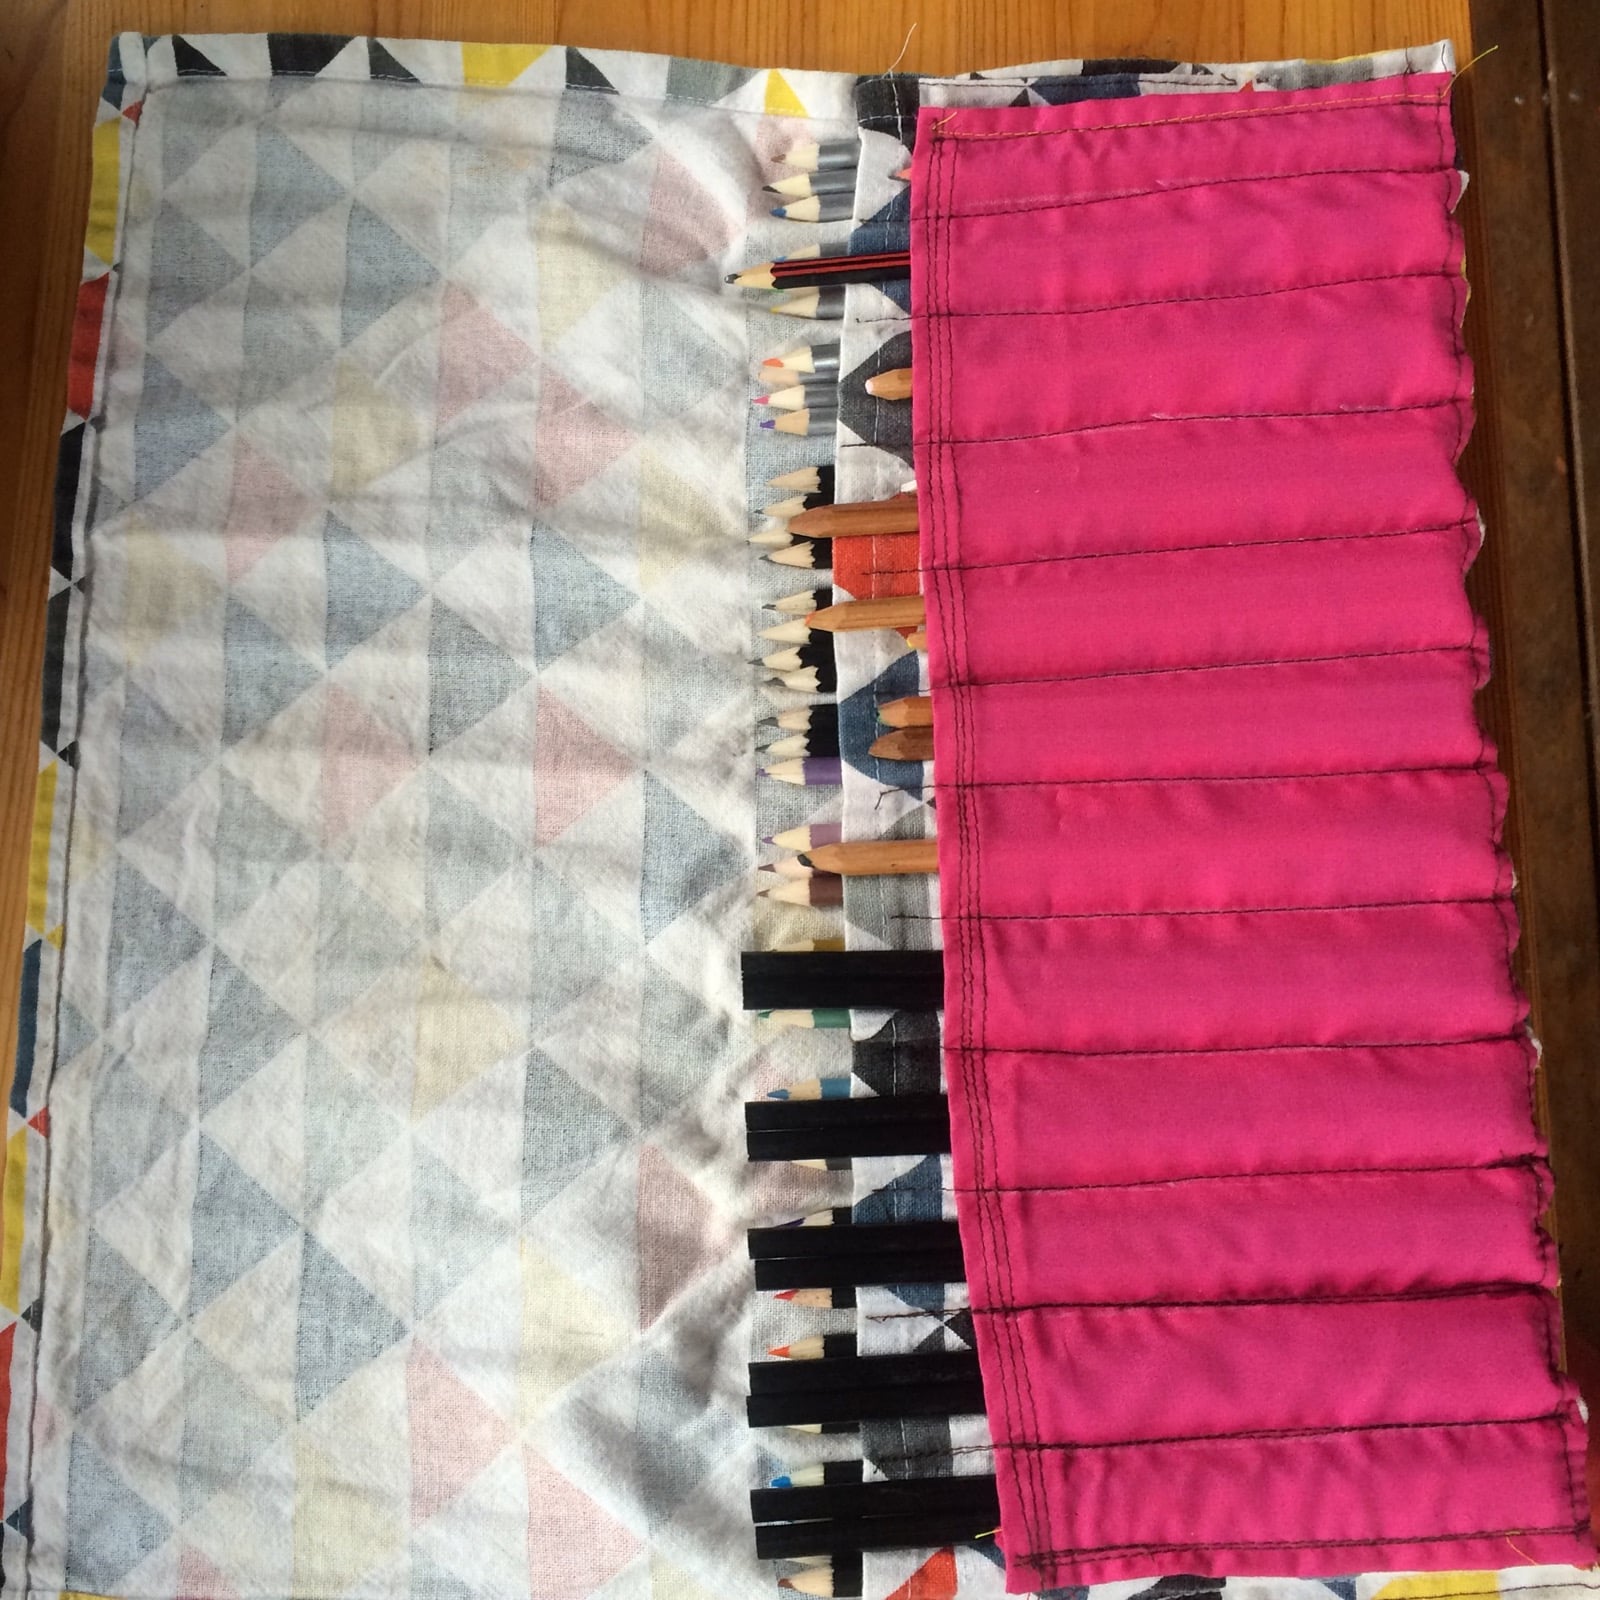 |
| All the pencils are neatly secured in the pouches. The flap folds down over the top, and all rolled up together. The bonus of using the tea towell is that the hem around the edge is already done. |
I am now teaching my children how to sew. My daughter has made a pencil roll and my son has made a bag. We’ve also done quite a few dress-ups. Next…clothes!
I make handbags out of pillowcases, leather jackets, old business shirts… the possibilities are endless. 🙂
Hi Morag, this is a great idea. Do you have the picture of the skirt open after you finish sewing? I just want to see how you sewed the waist band as I am really a beginner and would love to give it a go.
Hi Morag. I really admire your resourcefulness. That fabric is lovely for a skirt! I started learning to sew this year as I wanted to make most of my own clothes. I'm using the sewing machine my lovely Mum gave me for my 18th birthday and that has largely been in semi-retirement. I've made a few simple tops and have a dress cut out right now . I like that I can repurpose fabrics or choose my own. Meg:)
I saw a handbag made from a pair of cut-off jeans the other day!
Hi Morag I love the wrap skirt idea so simple ! Thanks for the inspiration to do some sewing with the kids as well :)Karina