It only takes a few years to create an abundant food forest garden.
I was reminded again of this recently when I was going through some old photos of our garden. Here are some before and after shots with annotations. I hope you enjoy looking at how we evolved this diverse permaculture garden.
Getting the design and earthworks right to begin with was so important and I value the effort we put into it. We are really happy with how the garden is working, and how low maintenance it is.
I will try to find the absolute beginning shots, when the place was just a bare paddock growing only bladey grass.
Everything in this garden we have planted.
 |
| Three year old Maia helps Evan to spread out the topsoil across the newly constructed terraces. |
|
| A couple of years later there is abundant perennial and self-seeding growth across the garden |
|
| Evan working on the wall. We chose this because it is termite resistant, can be made in curves, is simple interlocking bricks that can be easily dismantled, and it makes a great seat and workspace. You can see the abundance of Canna edulis on the left – a great pioneer plant to grow to build up biomass. |
|
| The terraces have been very successful gardens. I am so glad we decided to do this. It has made gardening here on the west slope all much easier – helping to build up soil and slowing and directing water along the contour pathways. The wide top is used as a seats, as pot holders, as balance beams, as a coffee table. It did cost a bit more in the outset, but well worth it. |
|
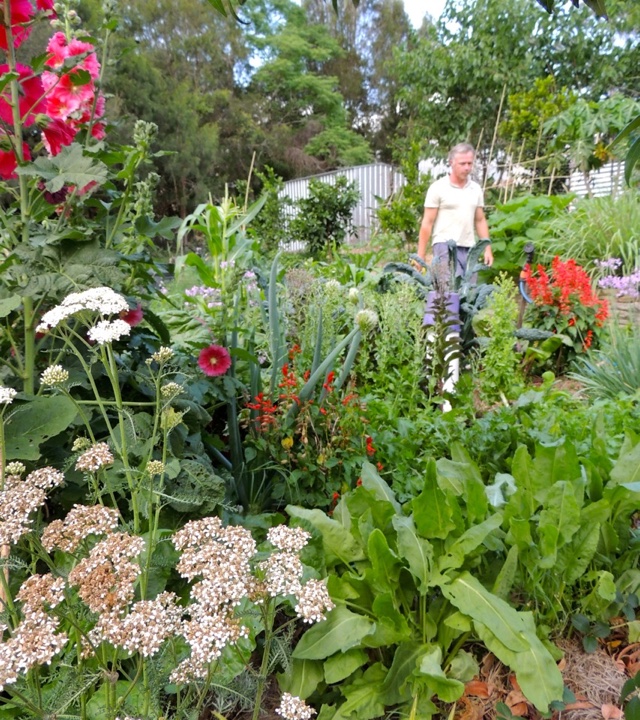
| You can see in this photo, taken this year, how the garden is now looking more like a food forest. There is just so much food wrapping our house. |
|
| …and every now and then we get some strange visitors of all sorts. |
|
| There is amazing bird life here. We always have the bird book at hand. |
Looking toward the house:
|
| Shaping the contour pathways… |
|
| A few years on and it looked like this. |
|
| The lemon myrtle and it’s friends – comfrey, aloe vera, pineapple sage, yarrow, geranium … |
|
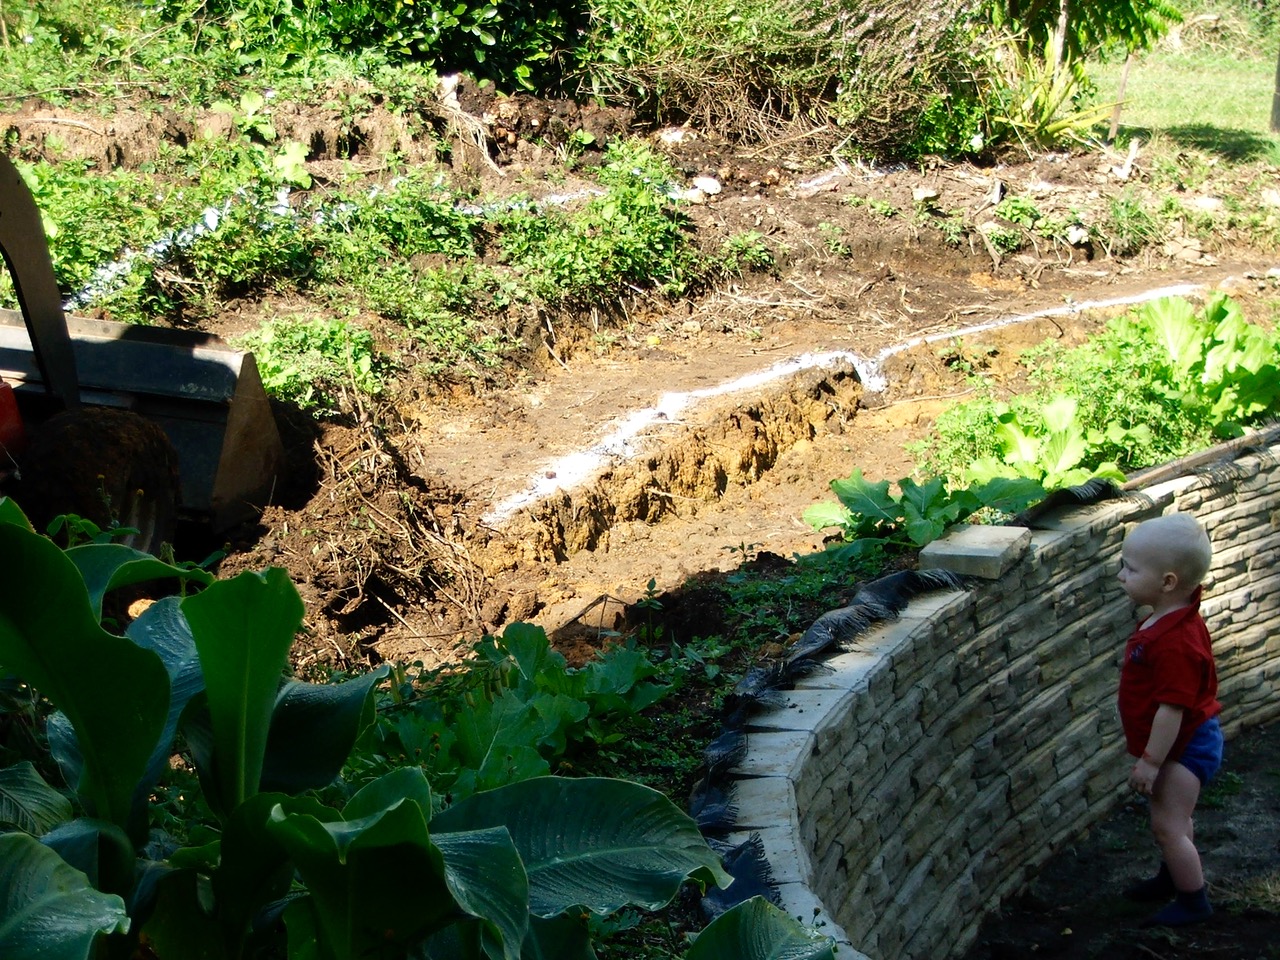
| We used a dingo (mini bobcat) to shape terraces and paths first before we begin planting. Our design collects rainwater and soaks it into the gardens in the keyholes beds. You can see the self-seeding mustard spinach that still fed us even when it was a construction site – love this plant! |
|
| At the end of the wall you can see the young Lemon Myrtle tree starting to grow. It’s not that much taller now because we keep it well trimmed. |
|
| You can see the curvature of the wall here. This helped to create more of a circular open grassy space for the children to play and to extend the terrace widths at either end for more garden space. To get the shape, we lay a hose on the ground until it looked and felt right, then started building the footings. |
|
| This is the same view as above, a couple of years after the garden was constructed. |
|
| Still in the beginning pioneer stages. groups have been coming to our garden since it’s inception and have witnessed it at every stage.. |
|
| Maia amongst the abundant growth of chia and bananas – same spot where people are standing above. |
|
| The bananas have become really productive on the top terrace. They are located just below the 3 bay composting system which helps. The nutrients flow down the hill and feed these plants. |
|
| Laying the decking. The terrace wall and pavers were next. The area of the garden to the left is now my main salad garden. For a long time it was a construction zone while we built the house. |
|
| Creating no-dig gardens in the old building site. |
|
| The children and WWOOfers have contributed to creating the gardens. |
|
| This was the first garden in this spot – using the no-dig method. |
|
| Another view of the abundance of this new no-dig garden |
|
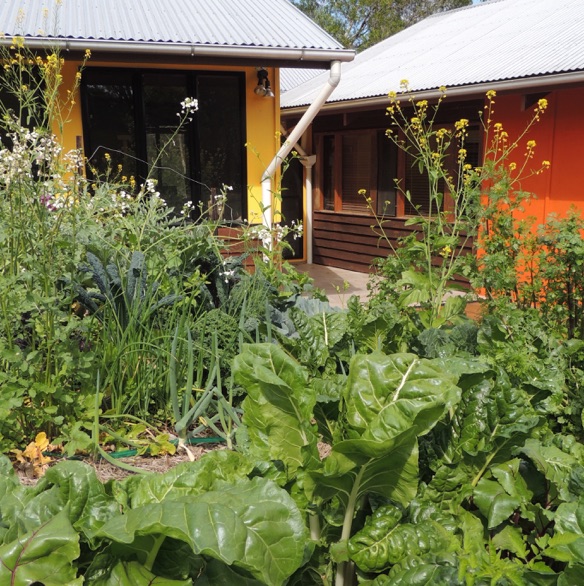
| The gardens have come alive around the house. |
|
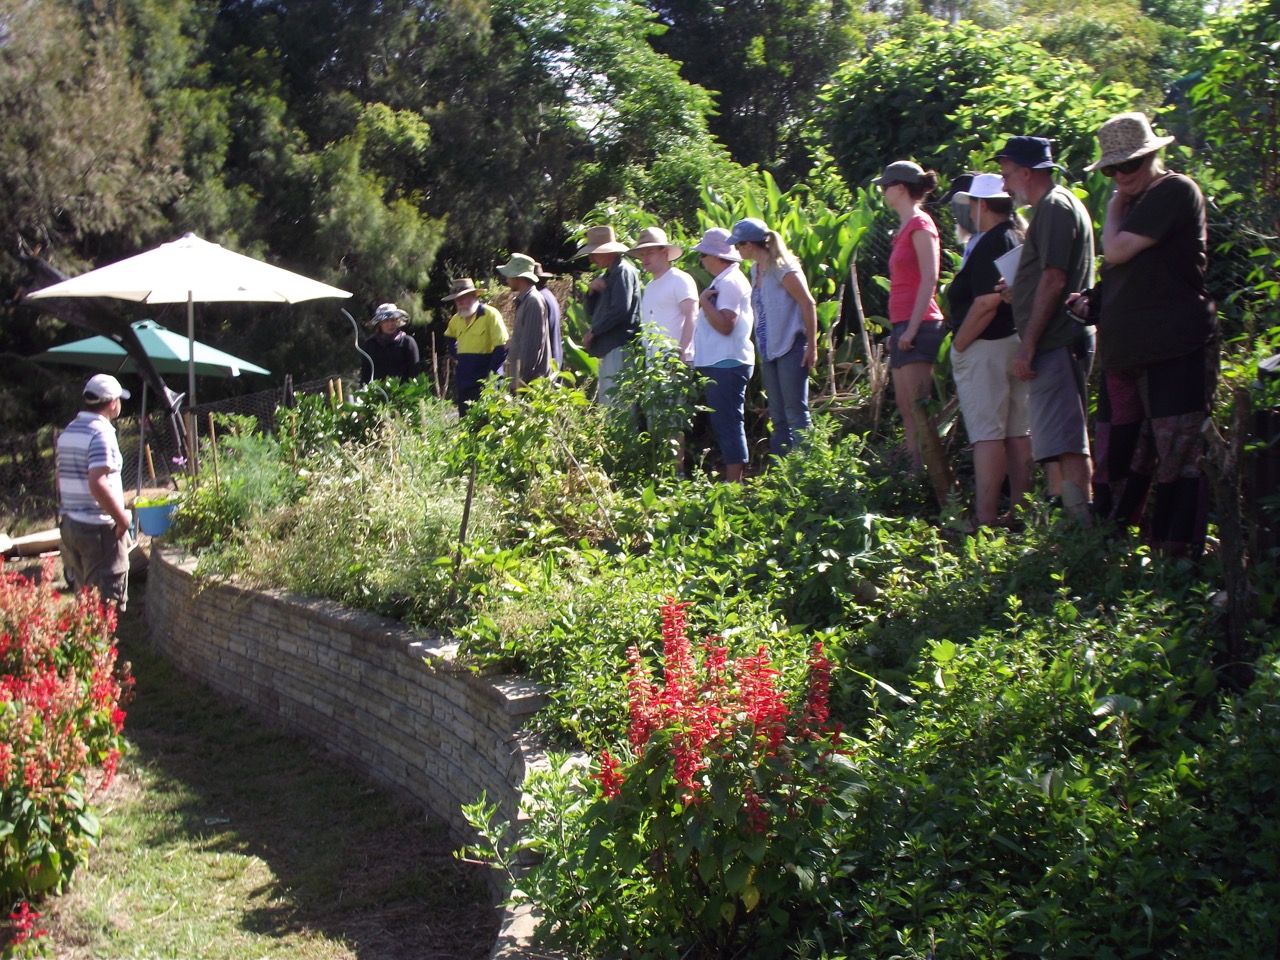
| These outdoor spaces and terrace walls work well as classroom spaces when we have groups here. |
|
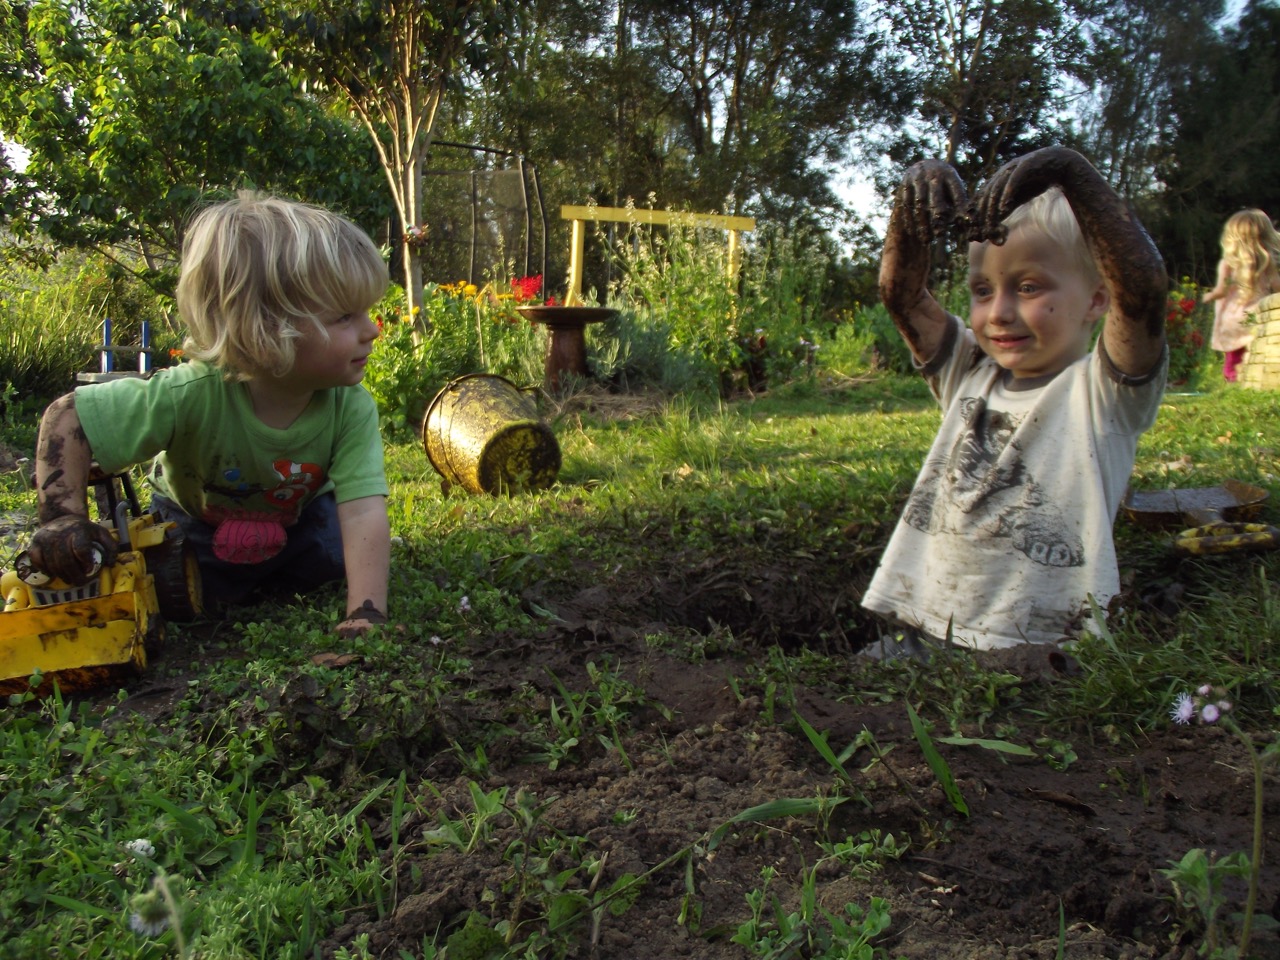
| The kids loved the mud piles – we had to make a special mud zone elsewhere when this became a garden. Even now, they still love mud play.
|
|
| Ready for a Harvest to Kitchen workshop on our verandah. Another one coming soon in August. |


The whole thing a testament to your upside-down no-dig method too I suppose. I love the shot of the kiddies in the mud!
Phil
Seeing your 'construction site' gardens reminds me of how mine looks now. My garden was either washed away in the recent NE NSW floods, or had over a metre of mud and silt dumped on it, killing everything. I love seeing the evolution of your garden, and aspire to that too, I just don't know if I have the heart to do it all again, with more floods predicted and the risk of doing all that work again and losing it all.
I found your Youtube videos and blog a few months ago when I was looking for resources on permaculture – and I've become a bit addicted! I loved seeing these photos of your garden being made.
I am looking forward to our Simple Living Toowoomba workshop on Permaculture this Saturday presented by Michael Wardle http://www.savoursoilpermaculture.com.au/about-me.html. It should be really good. Love seeing the various stages of your garden, Morag.