

These newspaper pots are fun, quick and easy to make – no sticky-tape, no string or elastic bands either, just old newspapers. They are great for seeds and little cuttings.
I had been using the paper roll method for years (and a similar version made of wood), but last weekend I came across another method – the origami pot. I like it too because it creates slightly larger pots that are great for cuttings.
I often run permaculture workshops for children. In one of these I show them how to make the pots, how to collect, plant and care for seeds, and how to take cuttings from herbs and perennial plants – great food-growing skills for us all to have.
These little origami pots were in the kids corner at the Small Farmers tent at the Maleny Show last weekend where I spoke about permaculture design thinking. After packing up, I couldn’t resist stopping and making a few to take home for my kids.
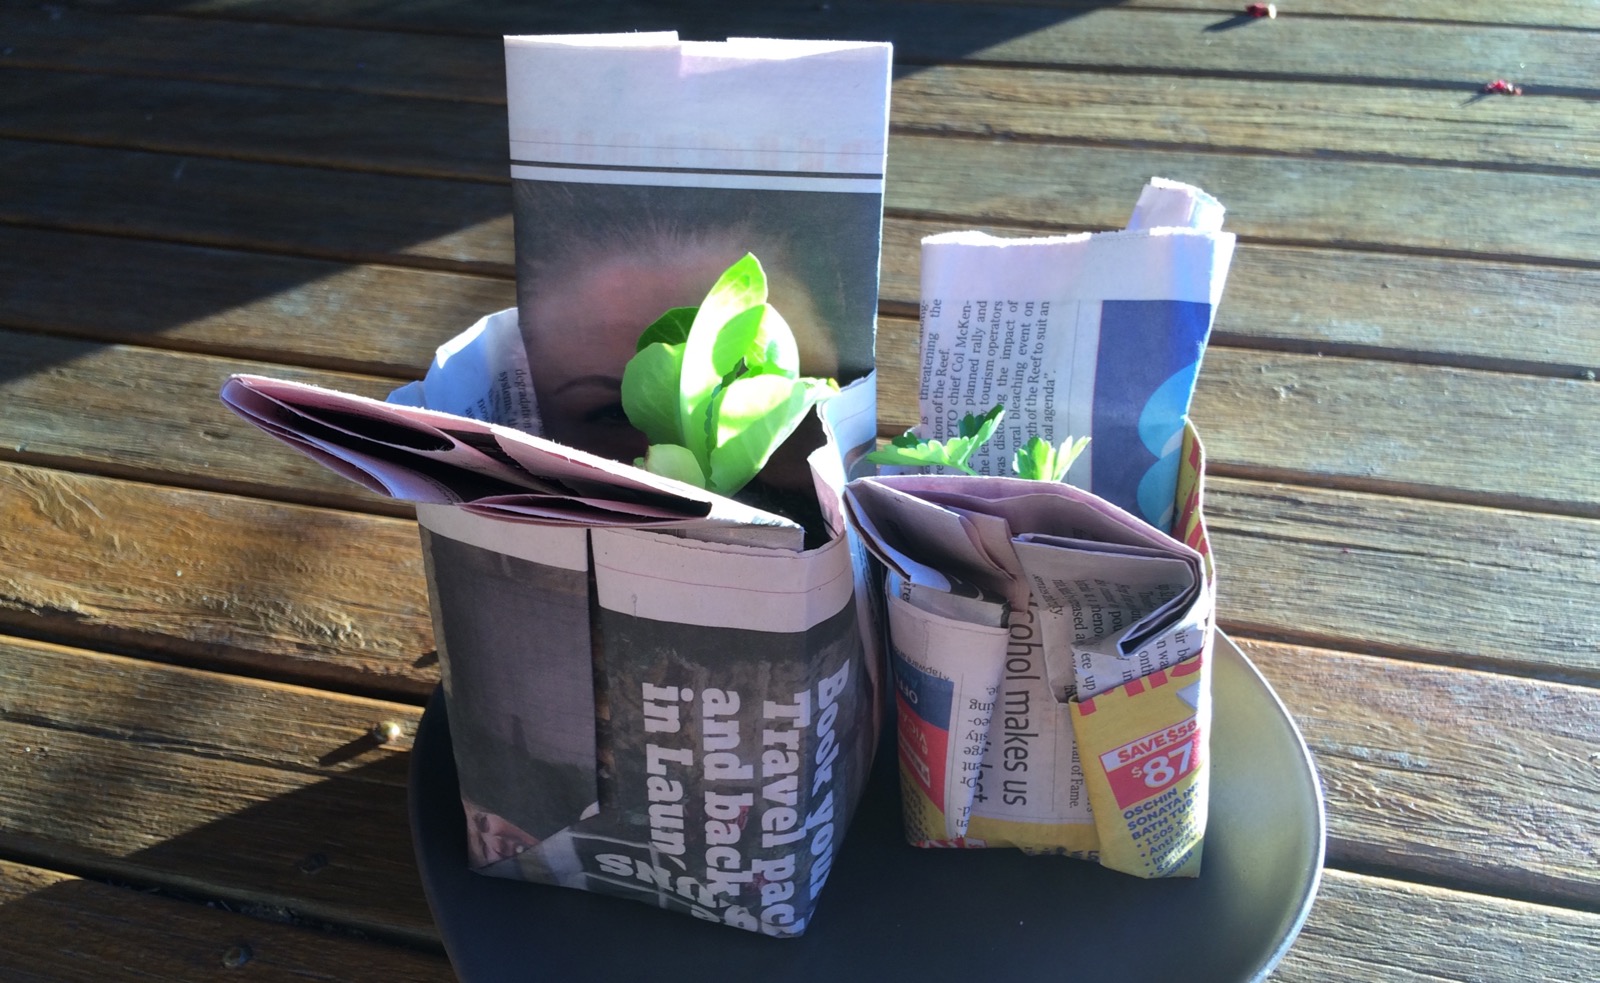 |
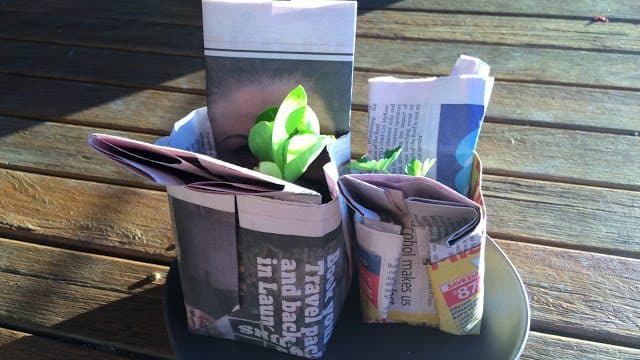
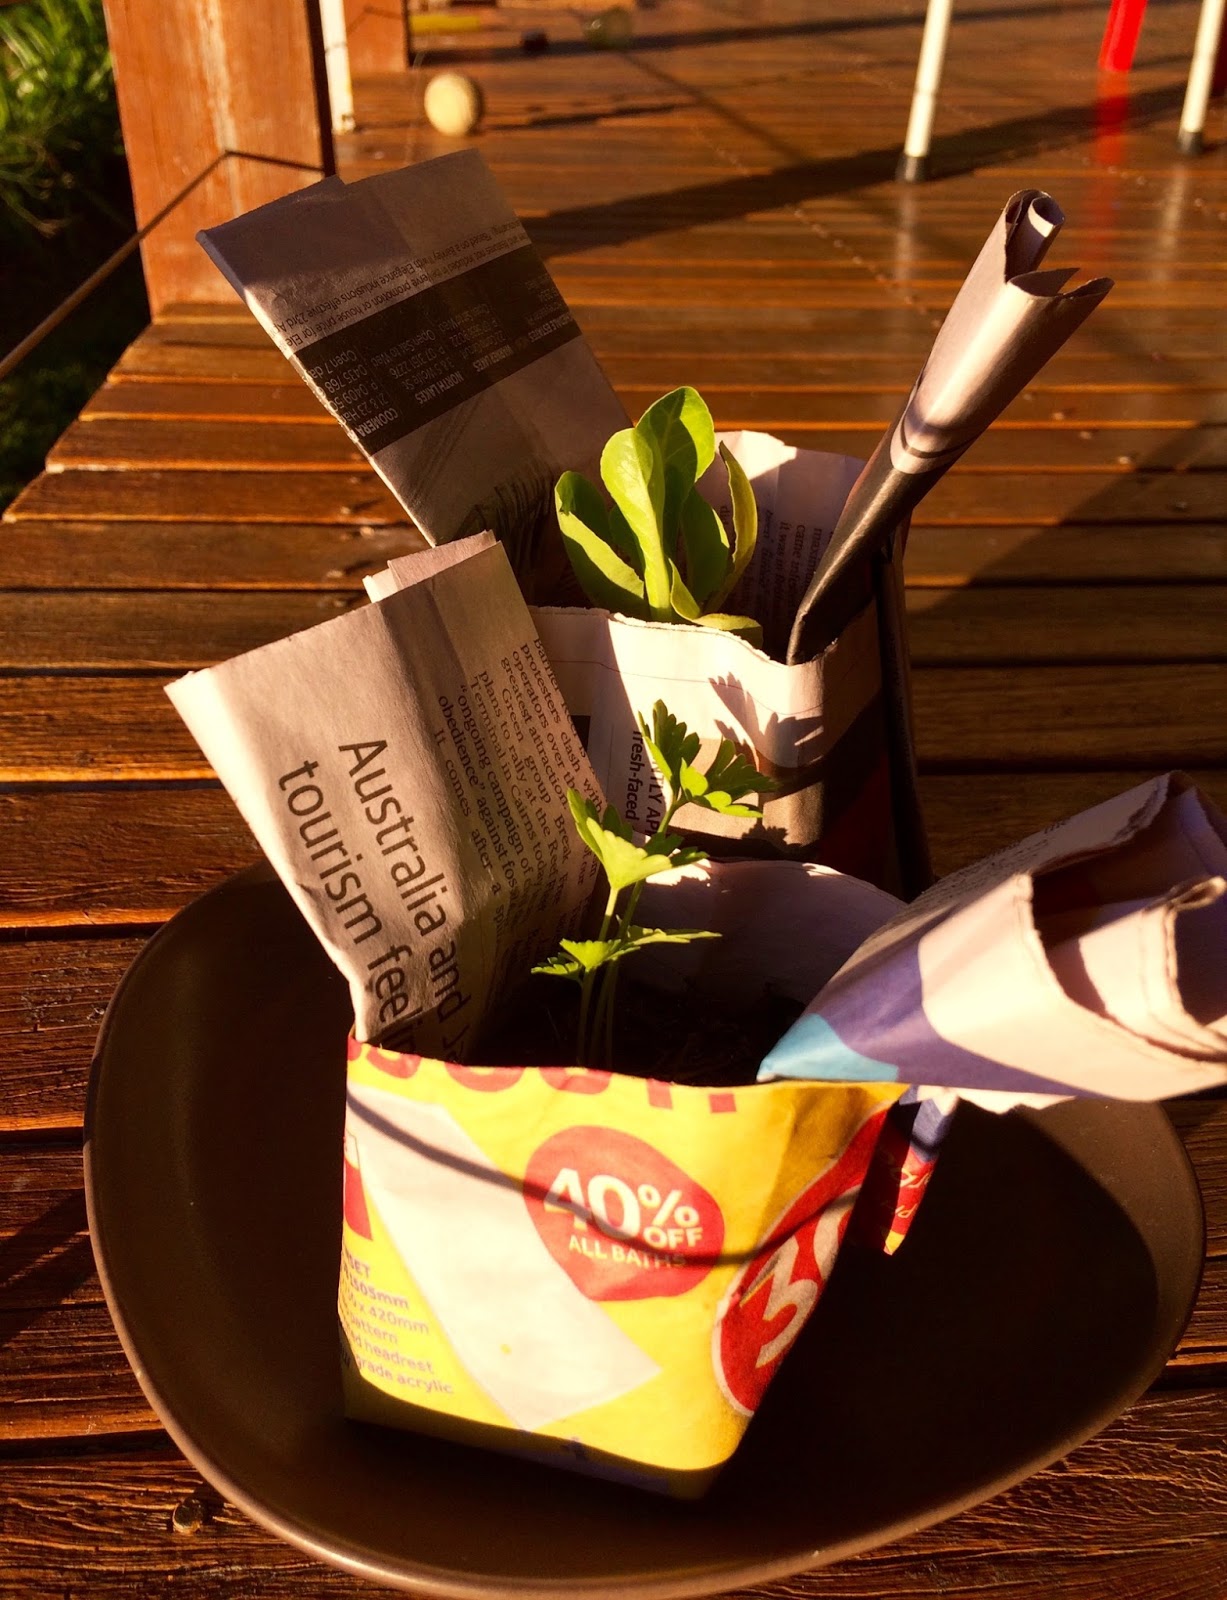
| The origami pots I brought home from the Maleny show with lettuce and parsley seedlings. |
Here’s how to make both the roll and the origami pot…
METHOD 1: THE PAPER ROLL POT
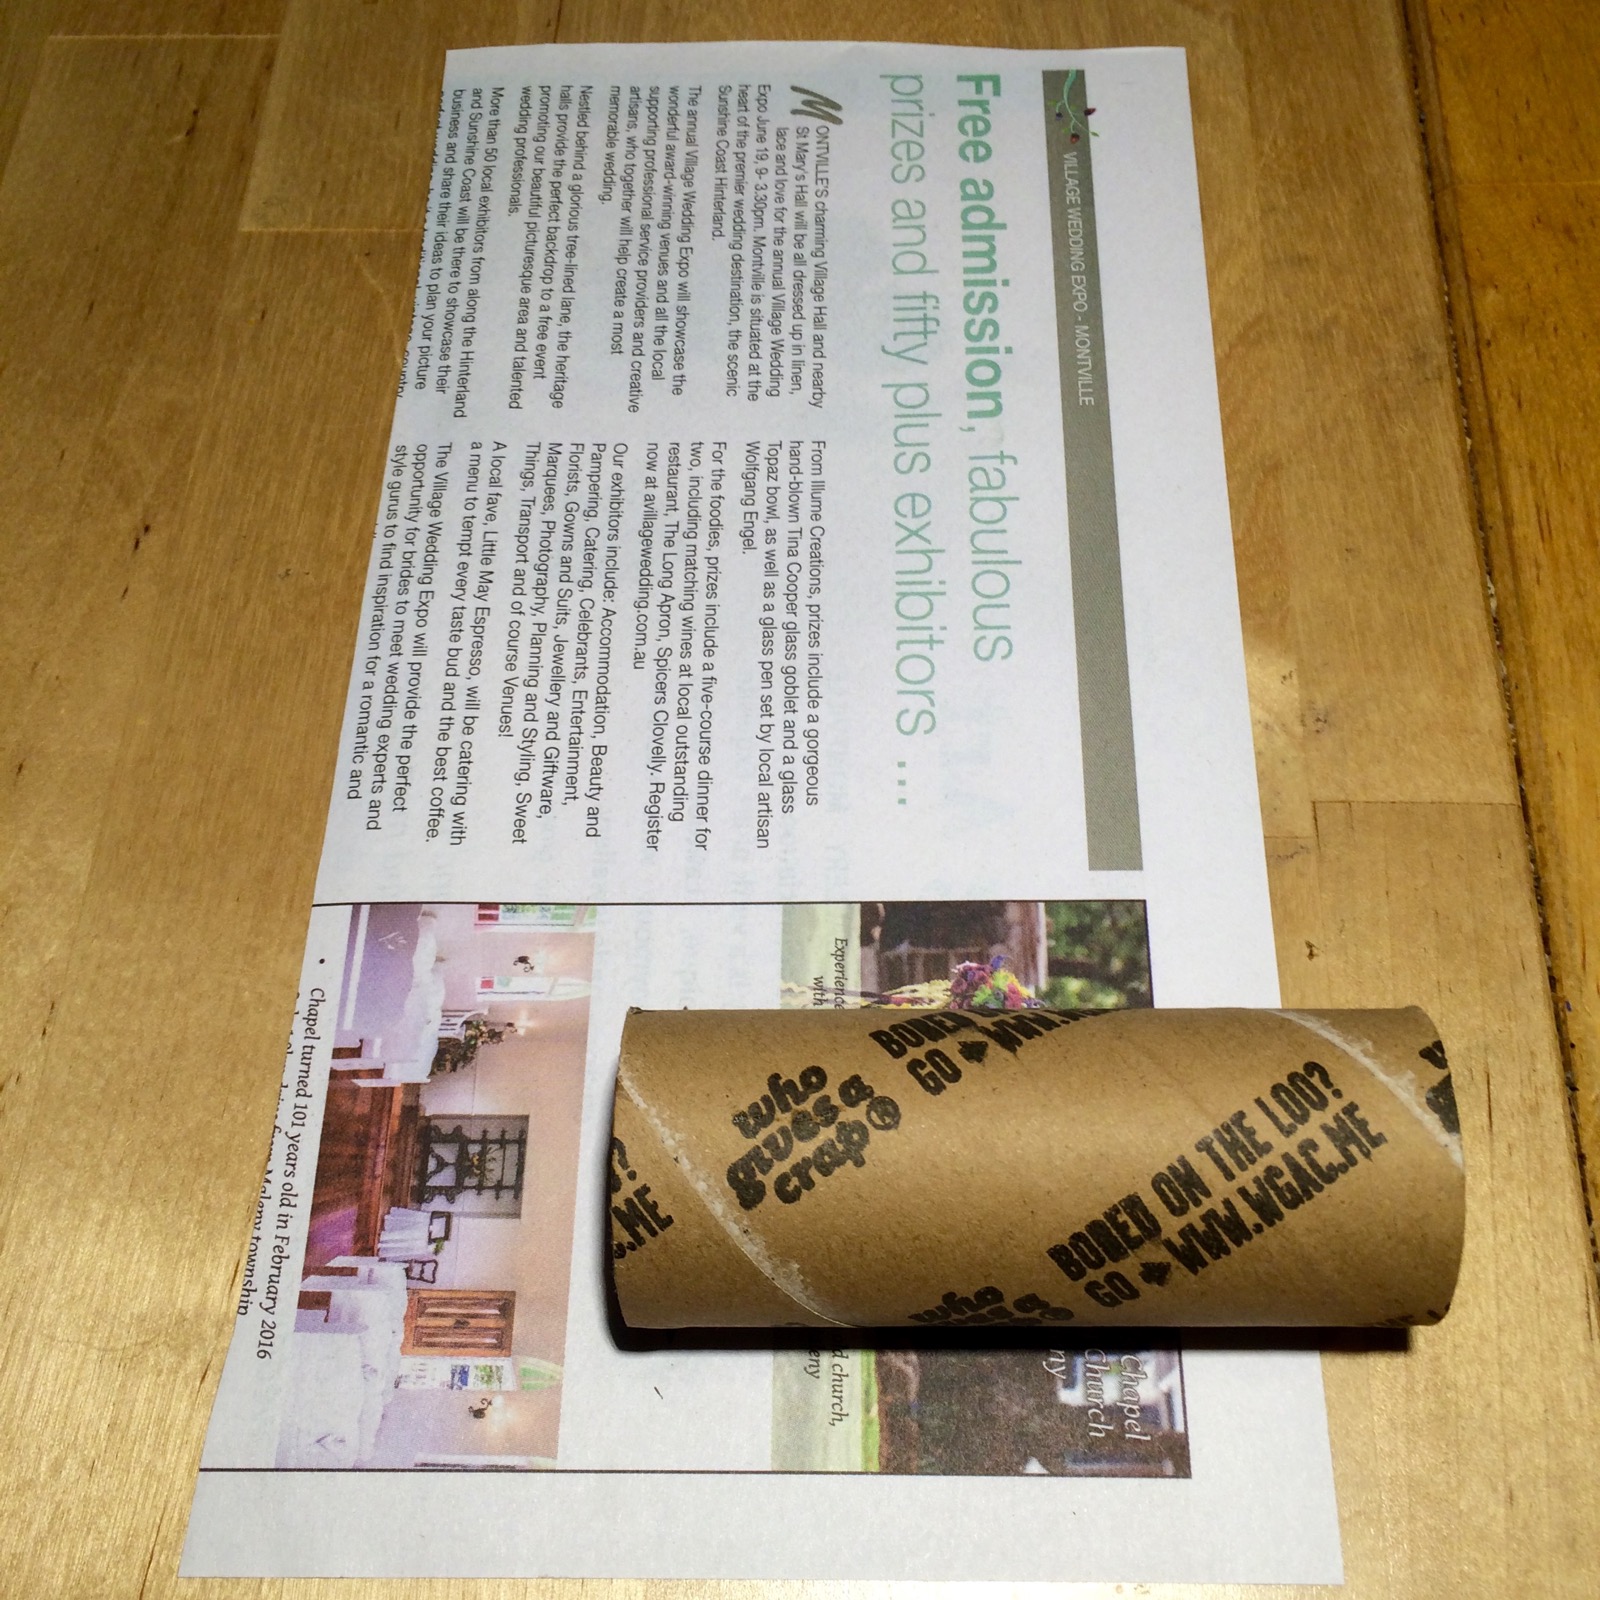 |
| Chop newspaper sheets in thirds. Place the toilet roll insert or paper towel insert at one end. Make sure the roll hangs over the edge enough to grab hold of it. |
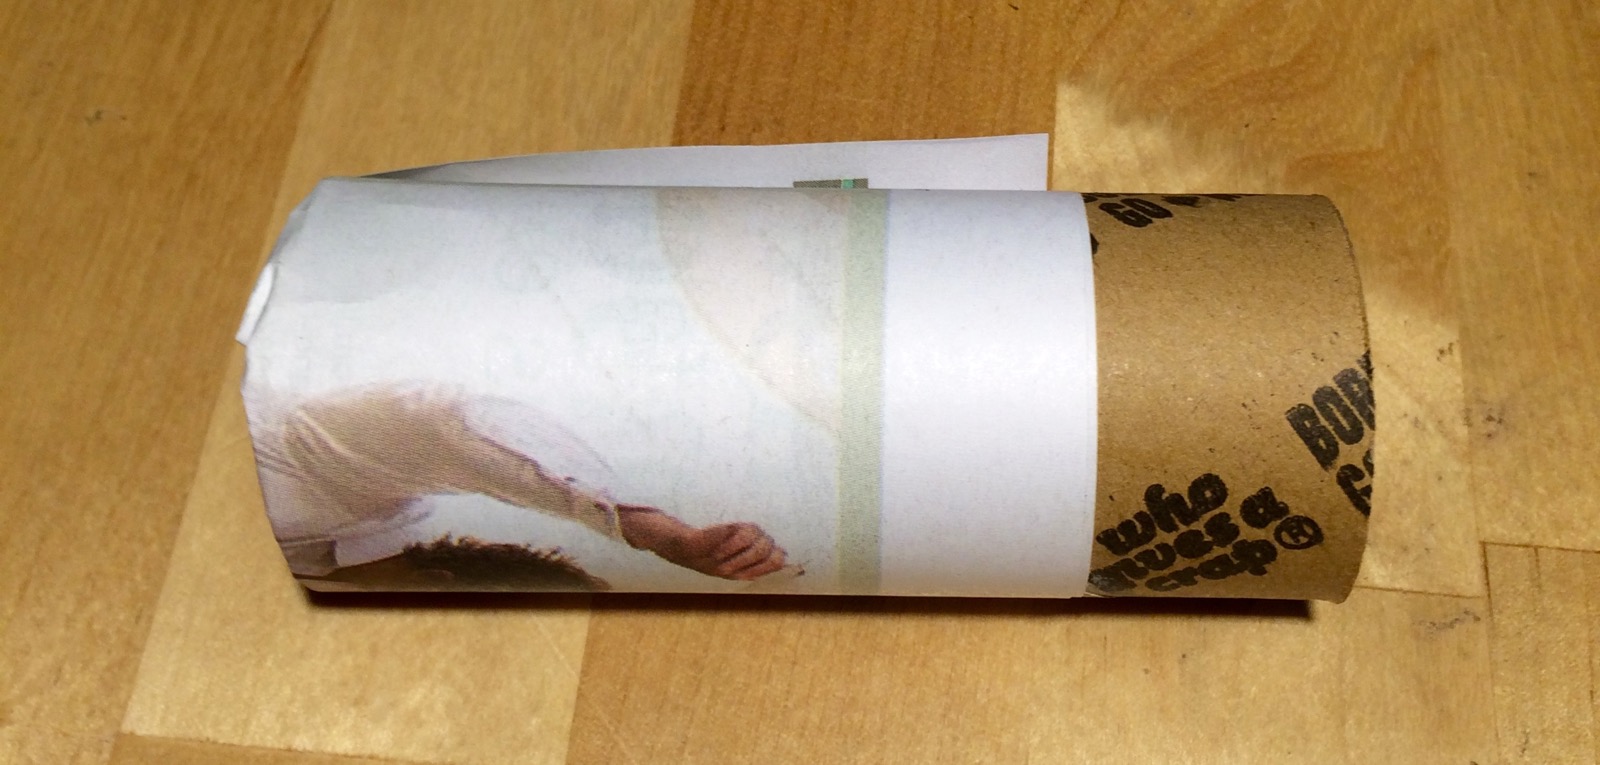 |
| Roll the paper up and poke the end into the bottom of the pot firmly – this makes it secure and stable. |
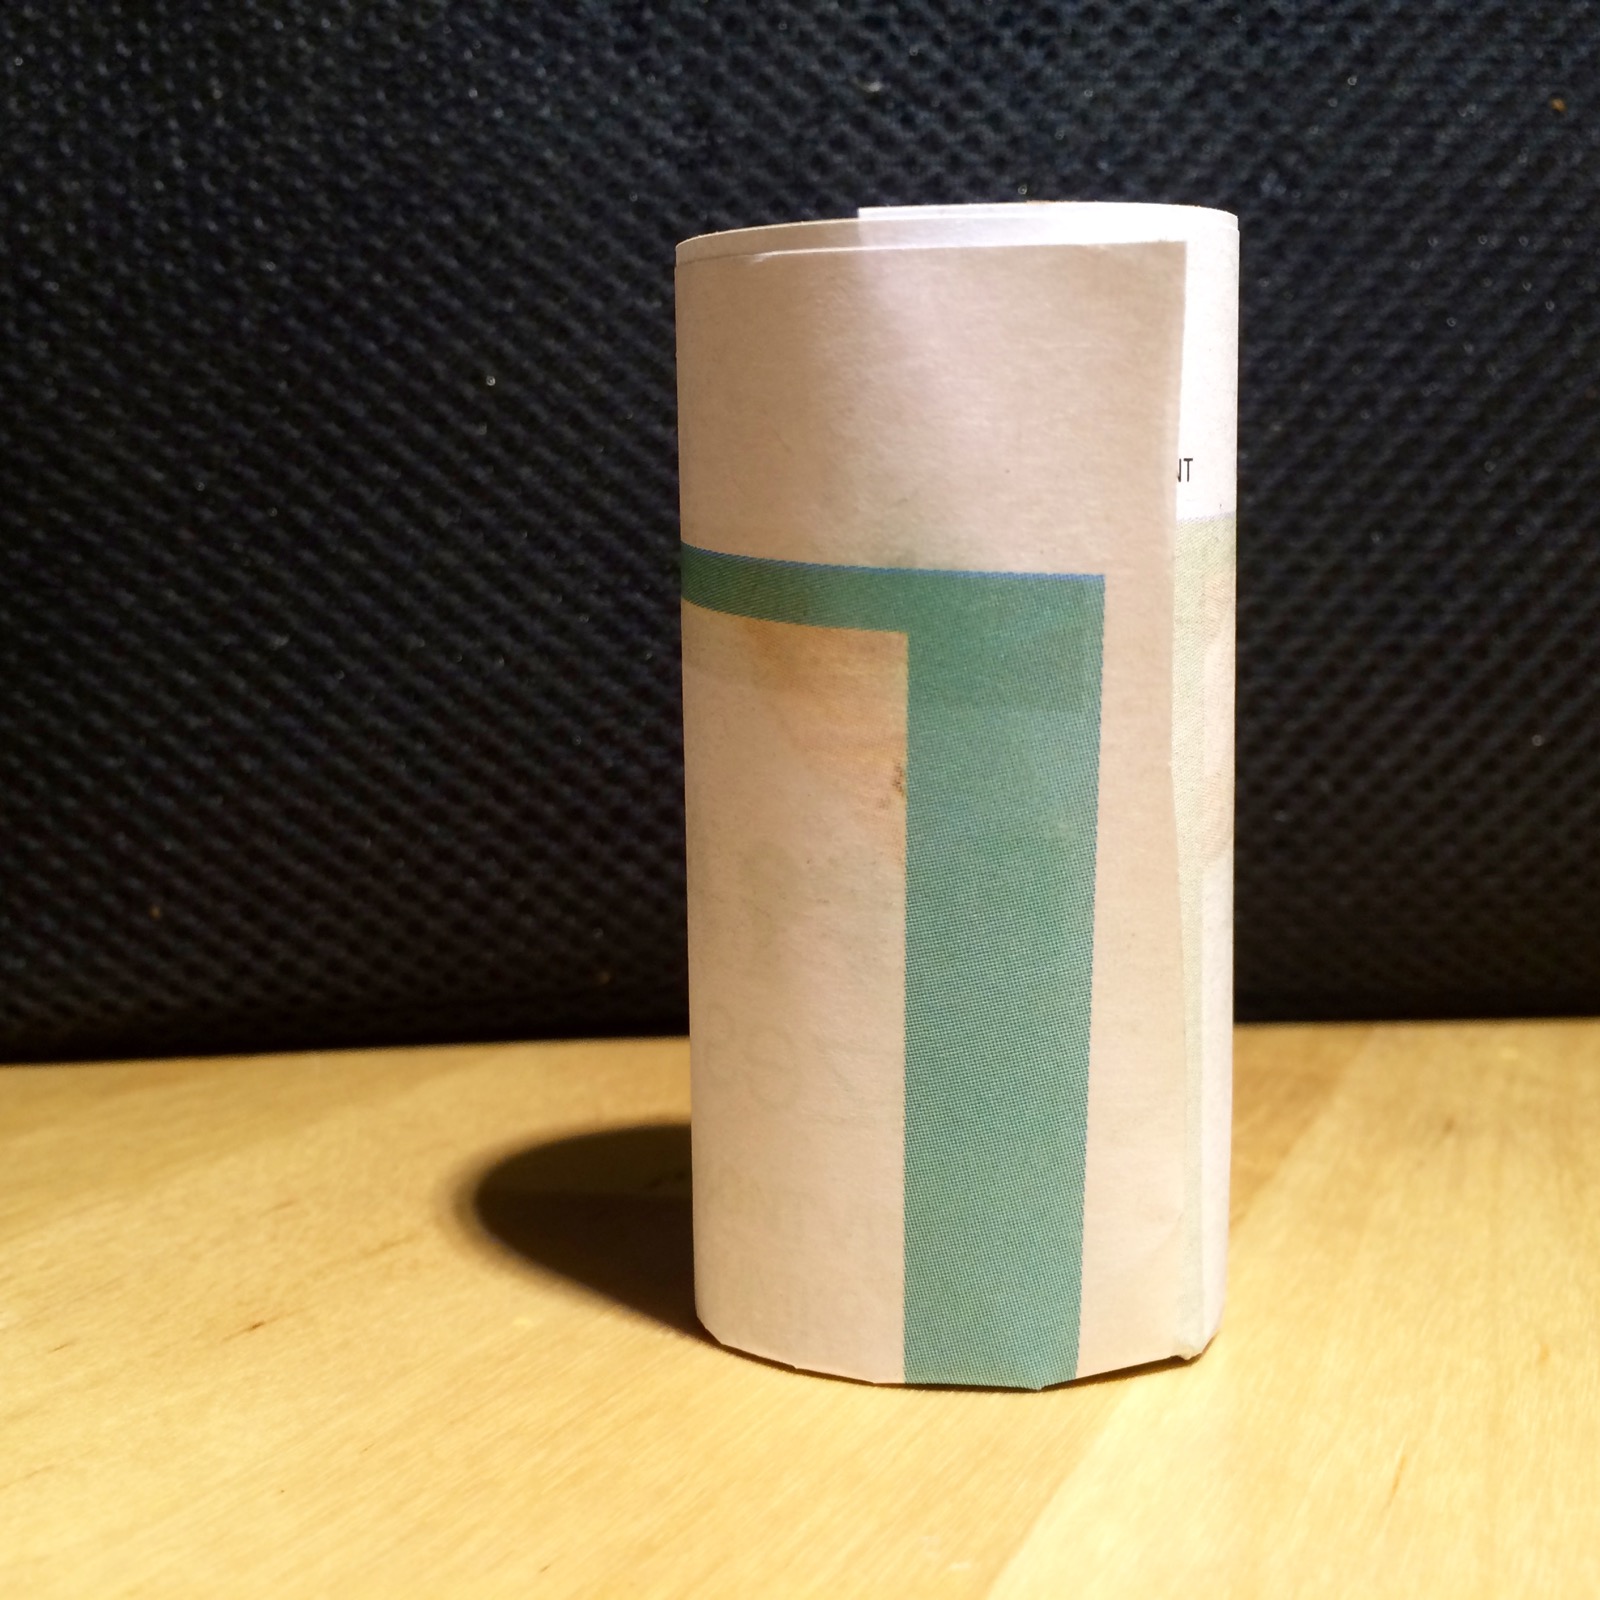 |
| Remove the insert and it’s ready to fill with compost and seeds. |
METHOD TWO: THE ORIGAMI SEED POT
 |
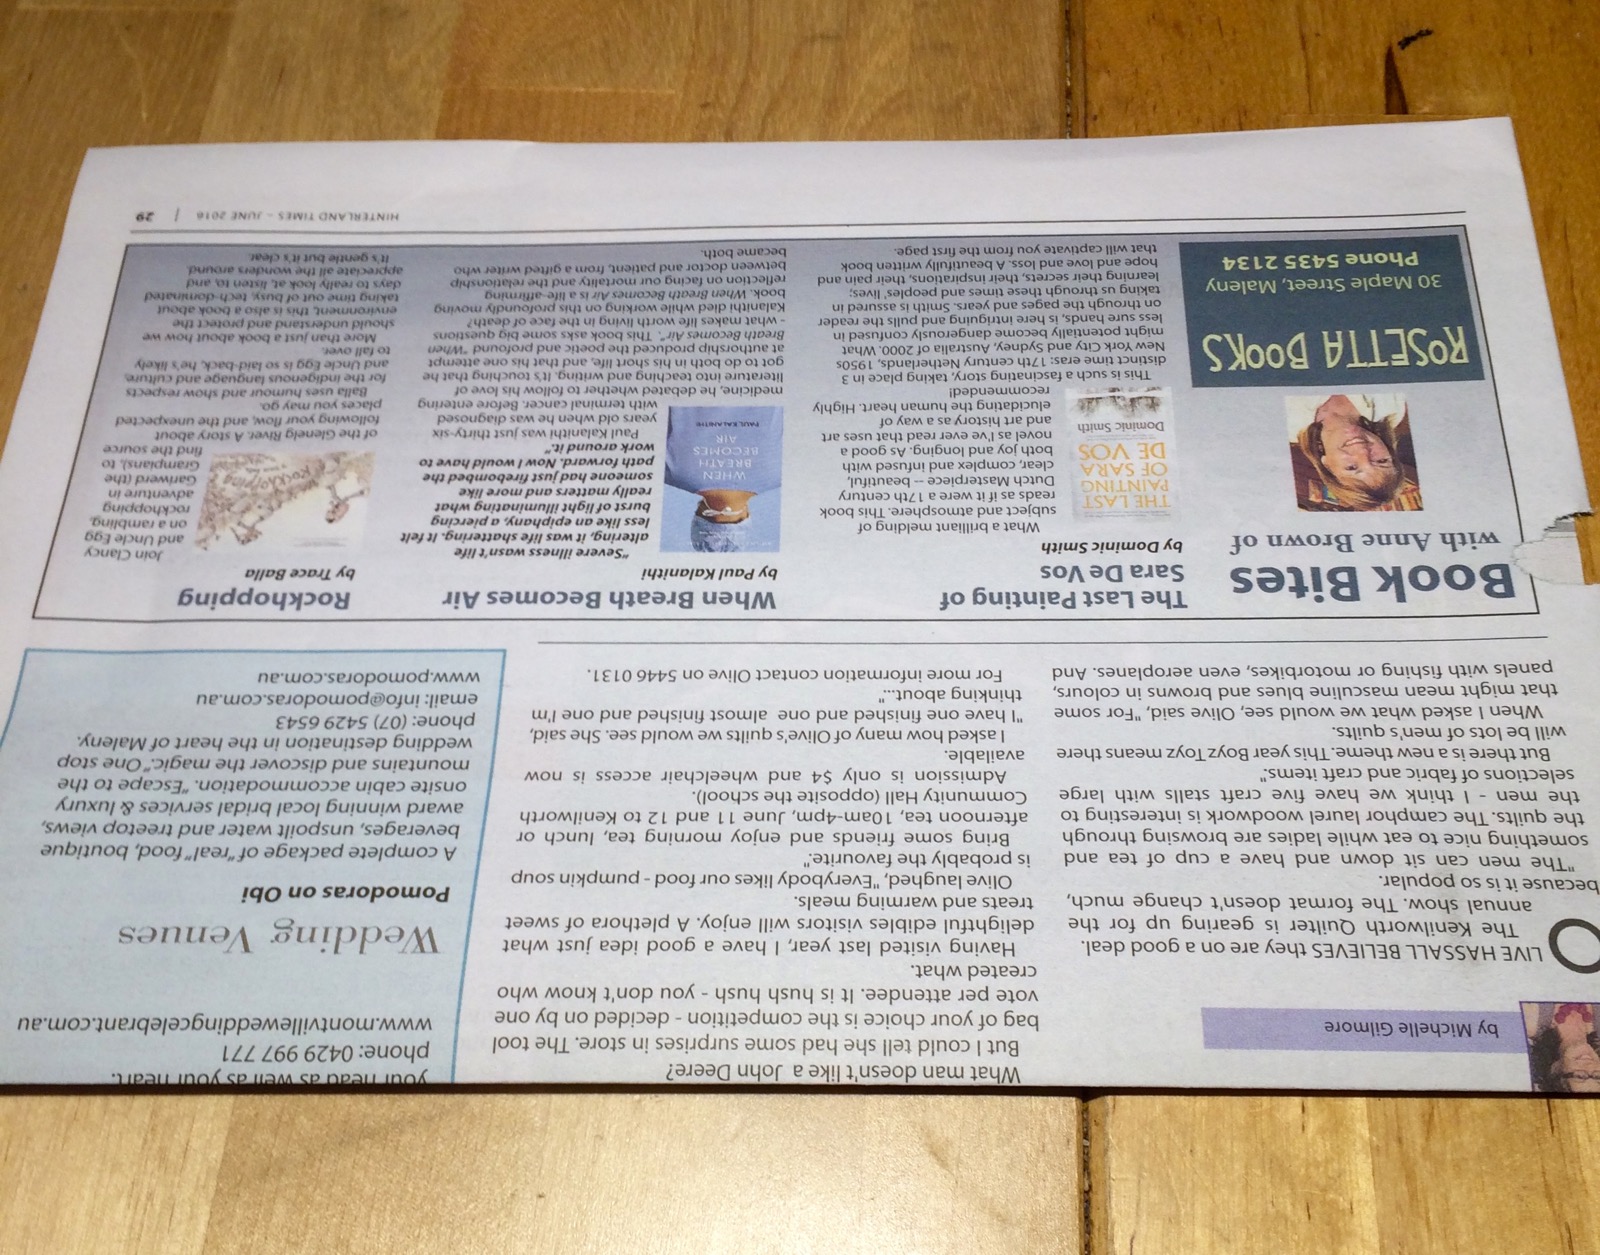
| Use a full page of newspaper. |
 |
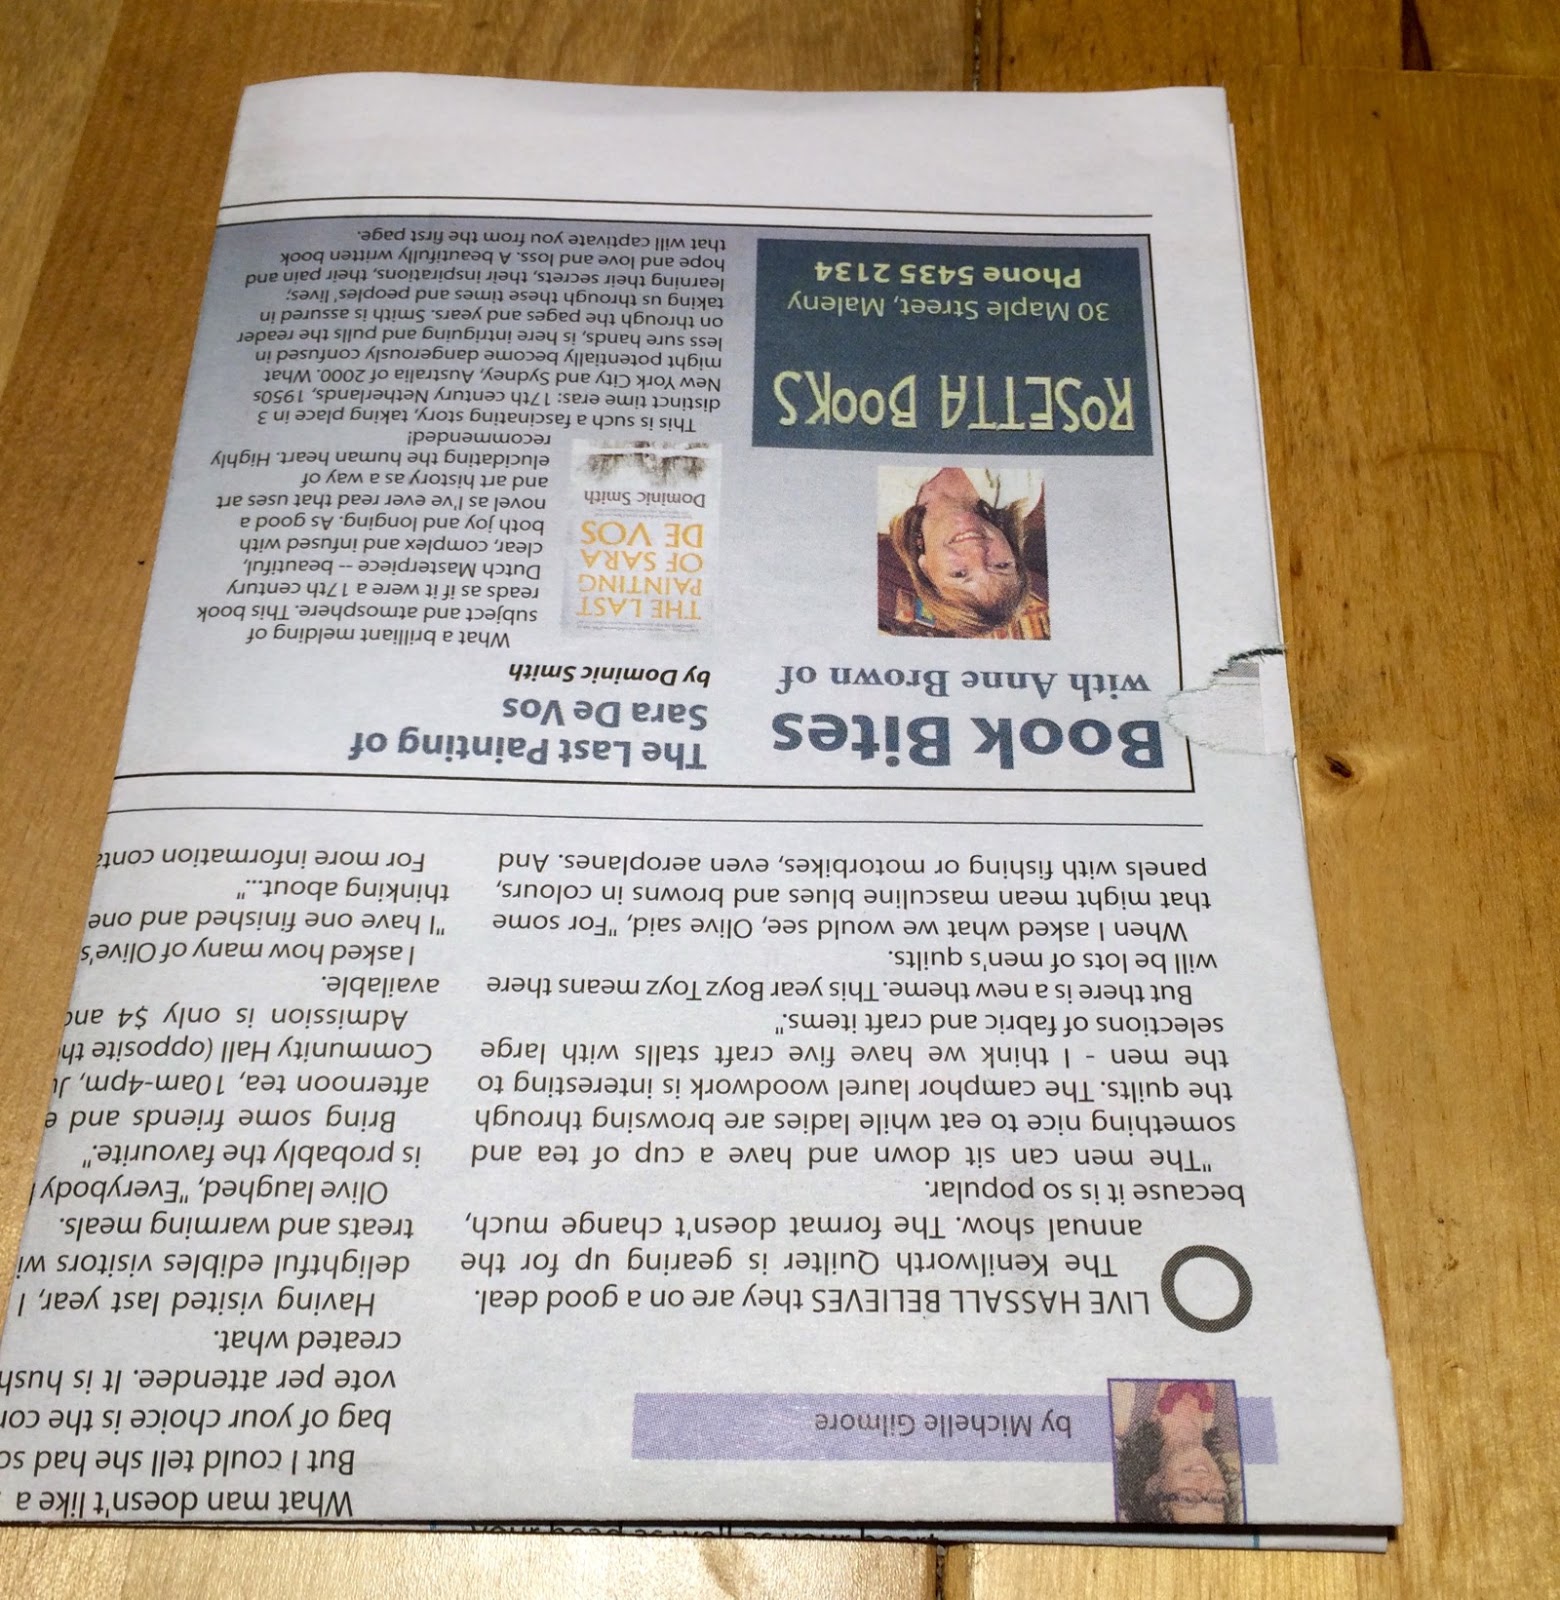
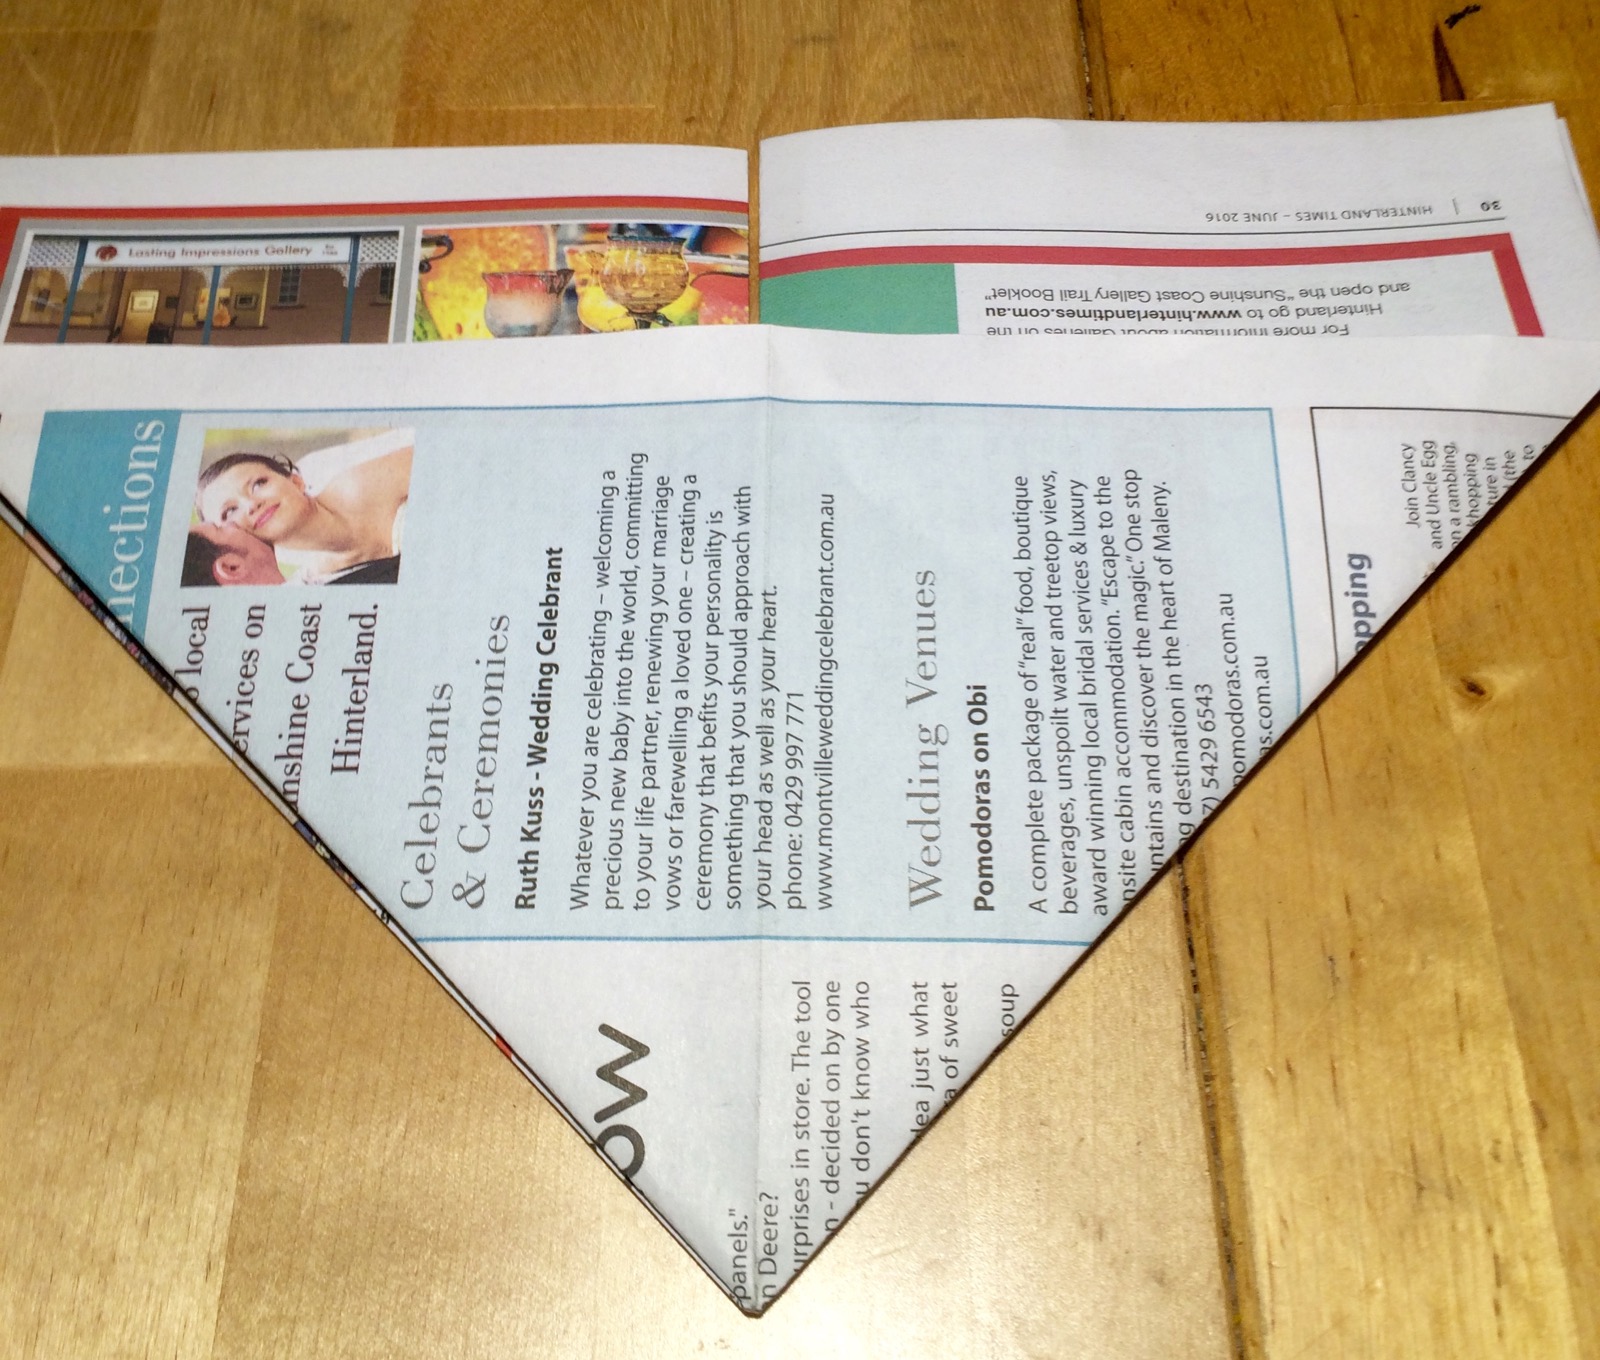
| Fold the bottom half up. |
 |
| Halve again – folding left side to the right. |
 |
| Open up the previous fold and take back just one corner to make a little triangle pocket. |
 |
| Turn the whole thing over and do this on the other side. |
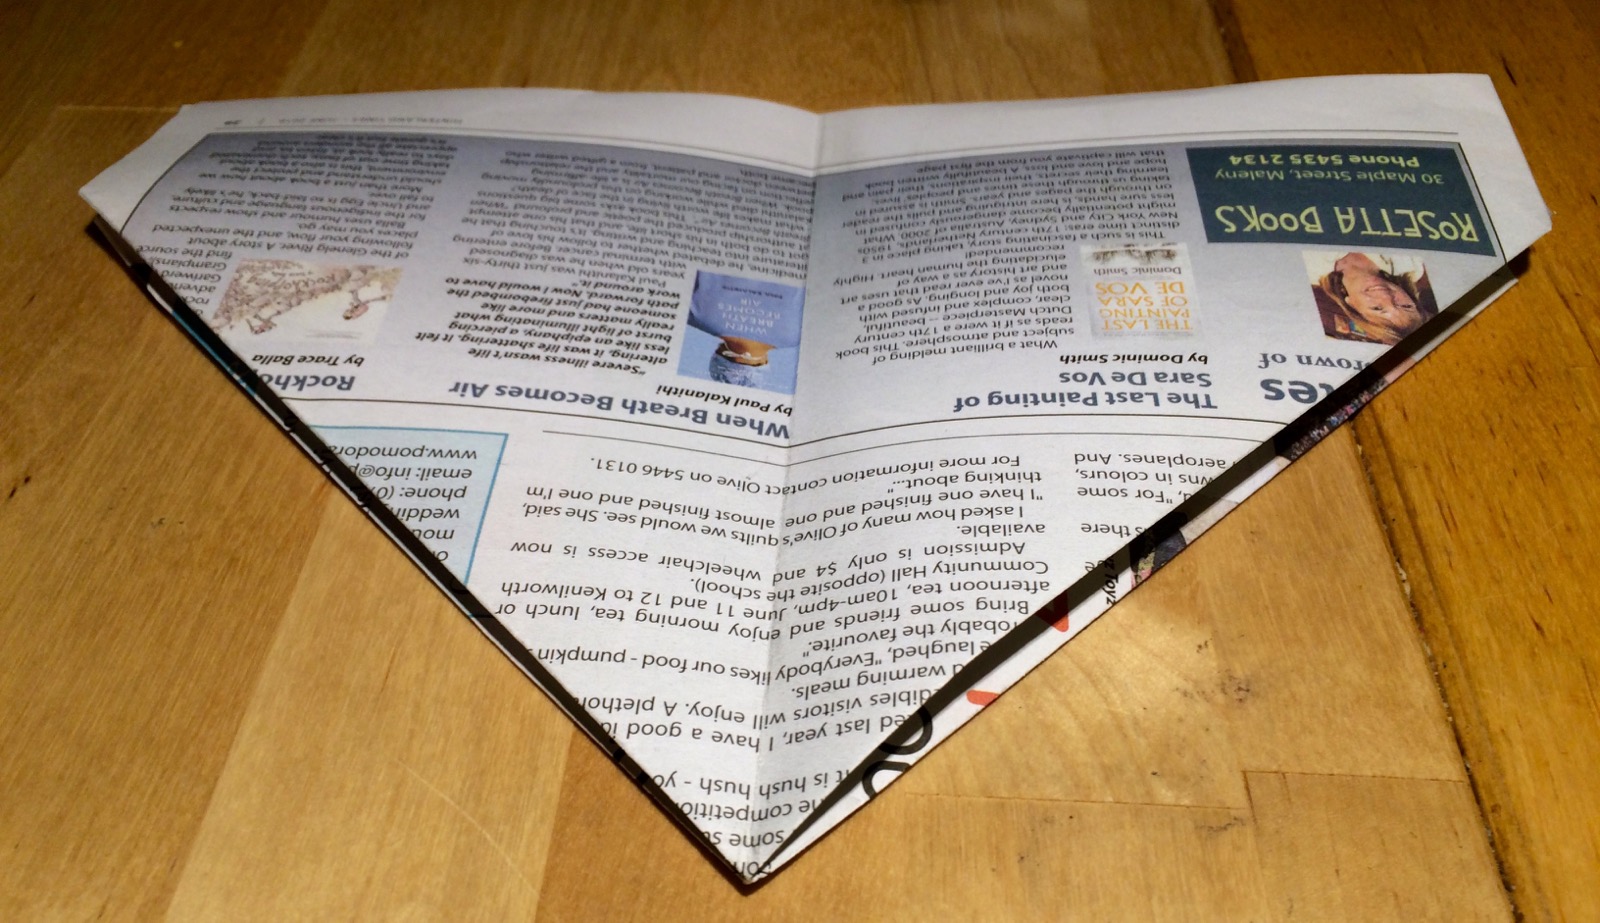 |
| Like turning a page, fold over the ‘wing’ to see this shape (do both sides). |
 |
| Take the left corner and fold into the centre line. |
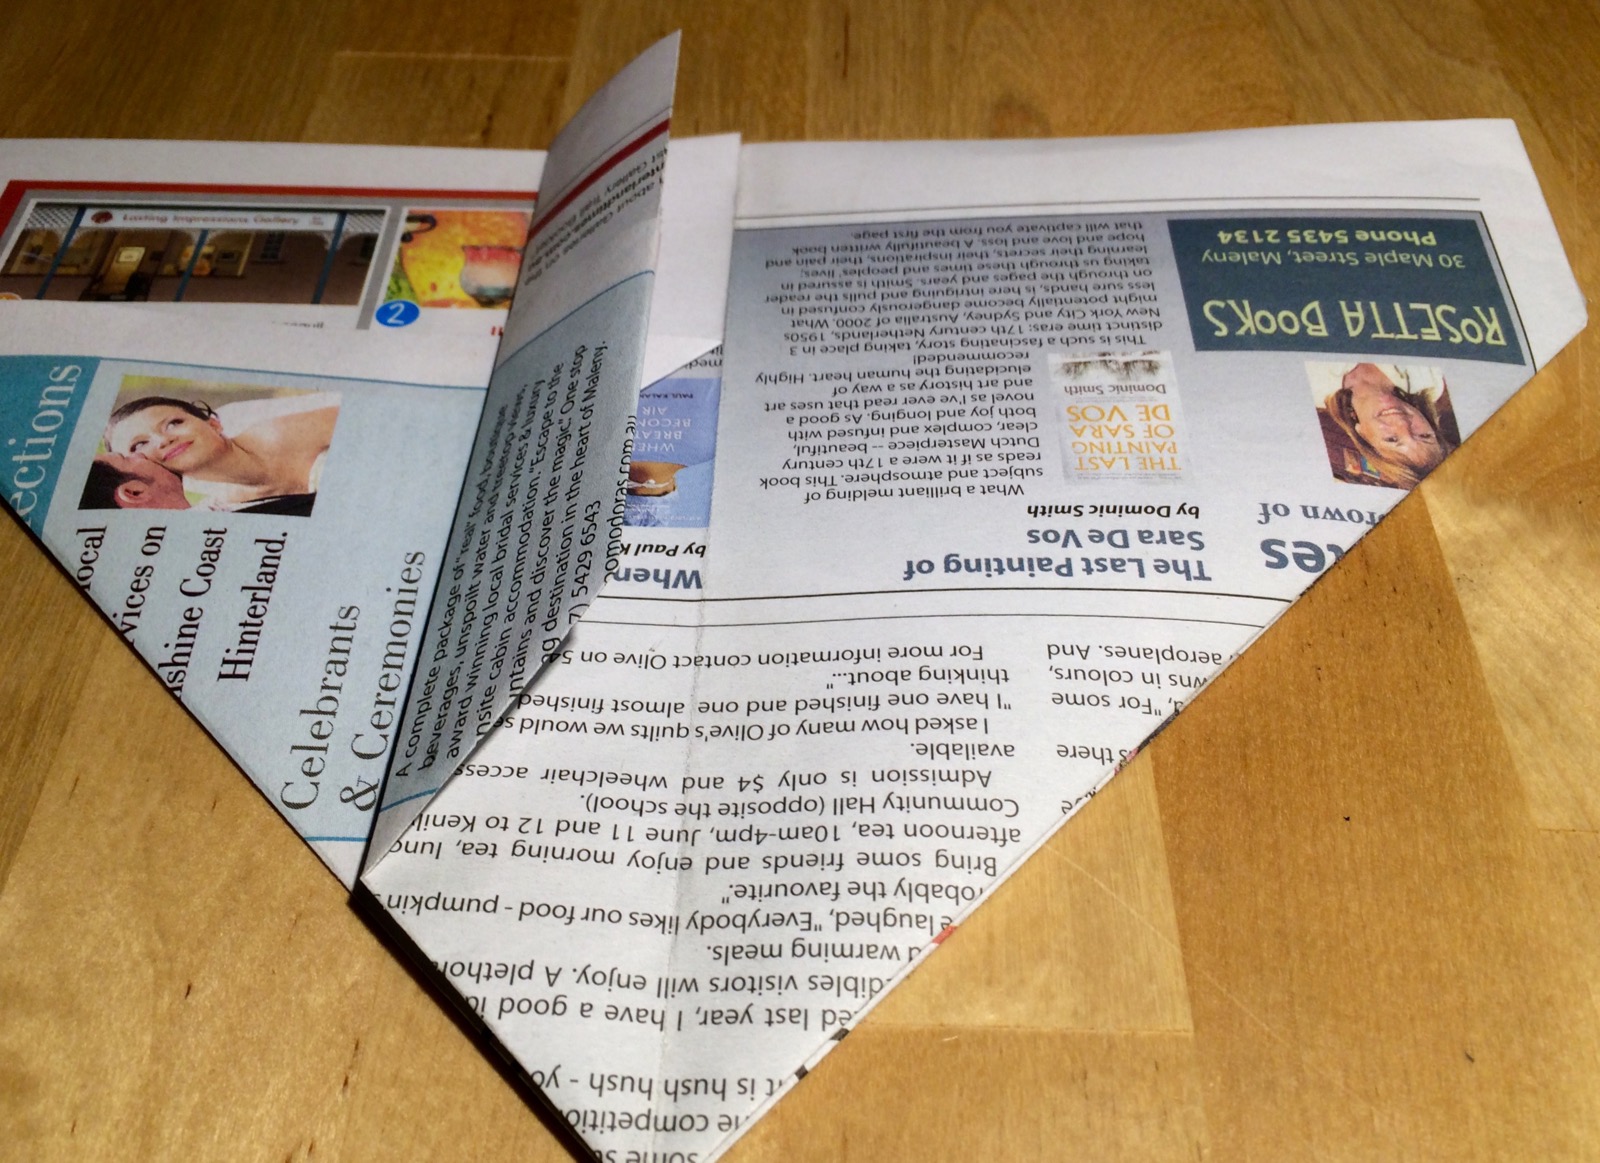 |
| Fold this again into the centre line. |
 |
| Repeat this double fold for the other side. |
 |
| Turn it over and repeat the double folds for left and right ‘wings’. |
 |
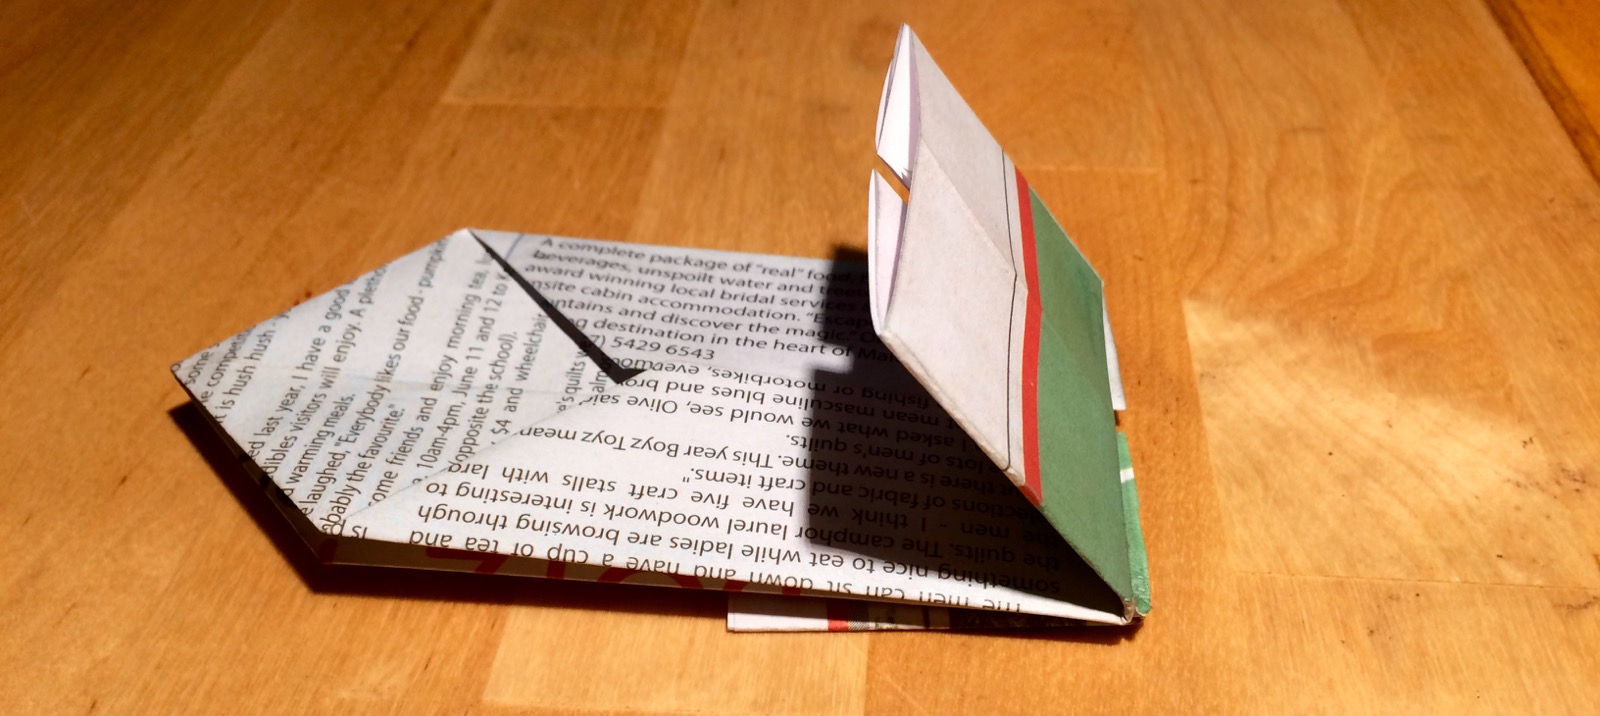
| All folded up – smooth the lines. |
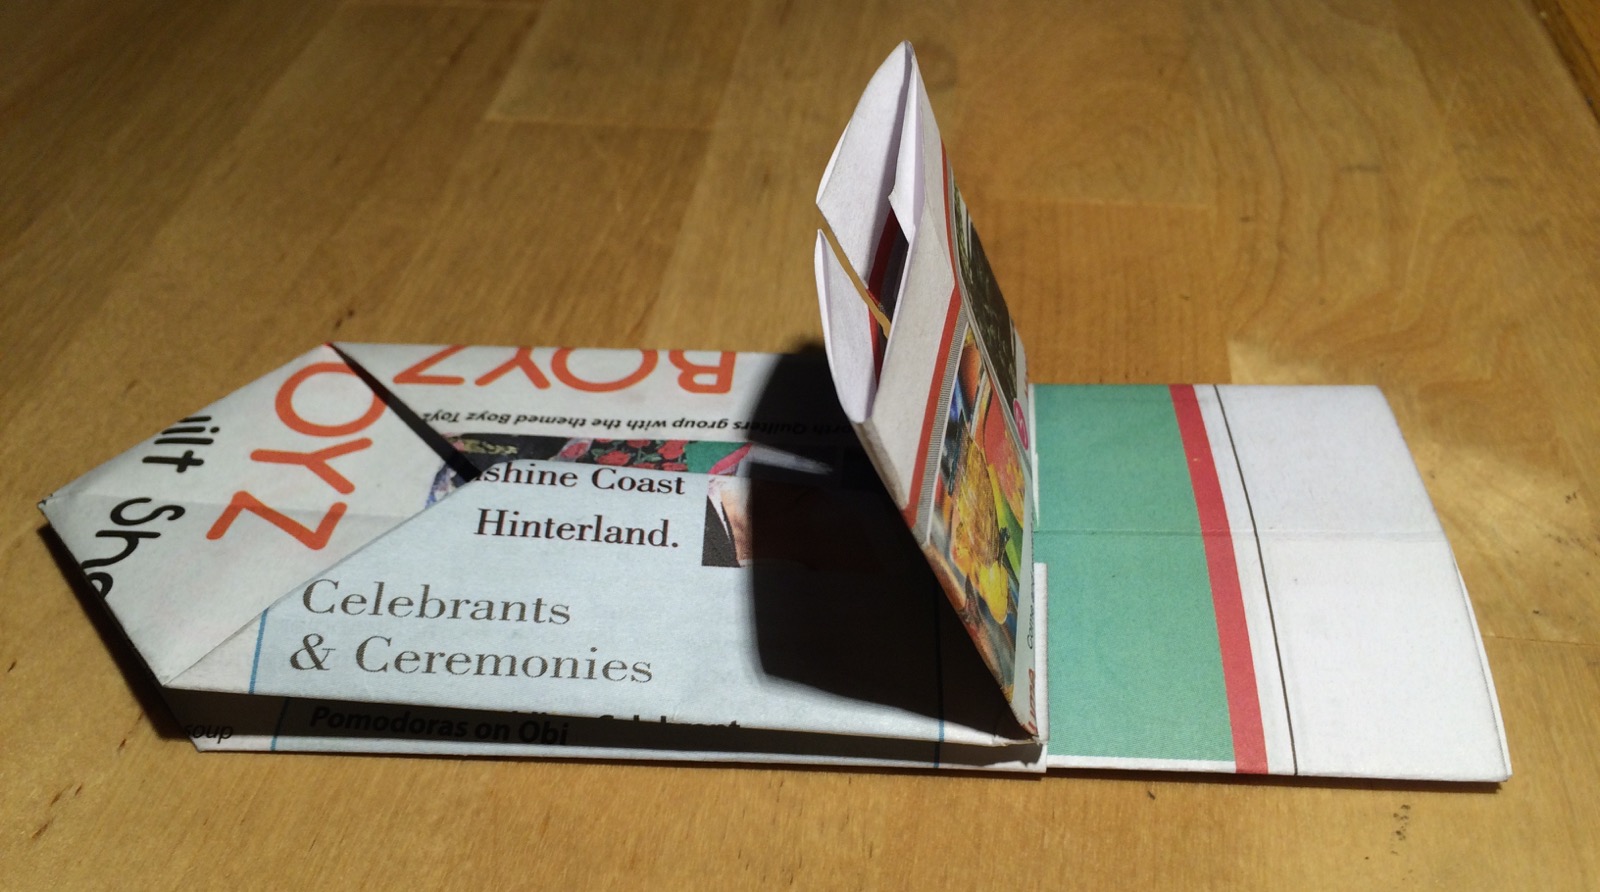 |
| Fold back the top. |
 |
| Other side too. |
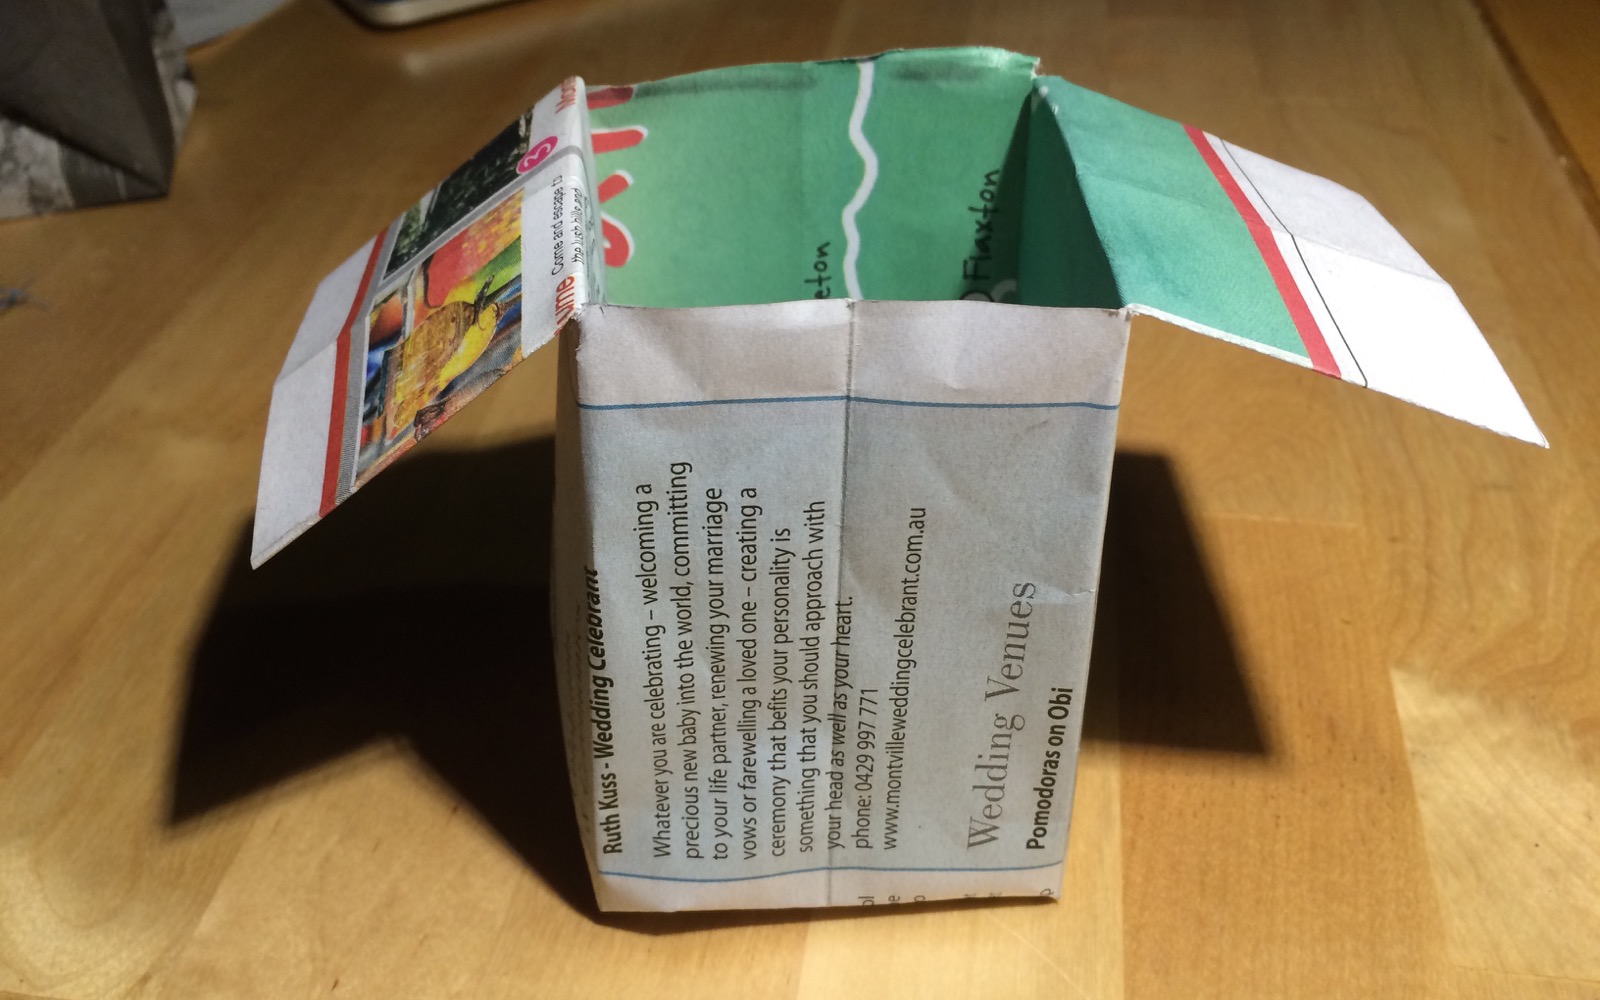 |
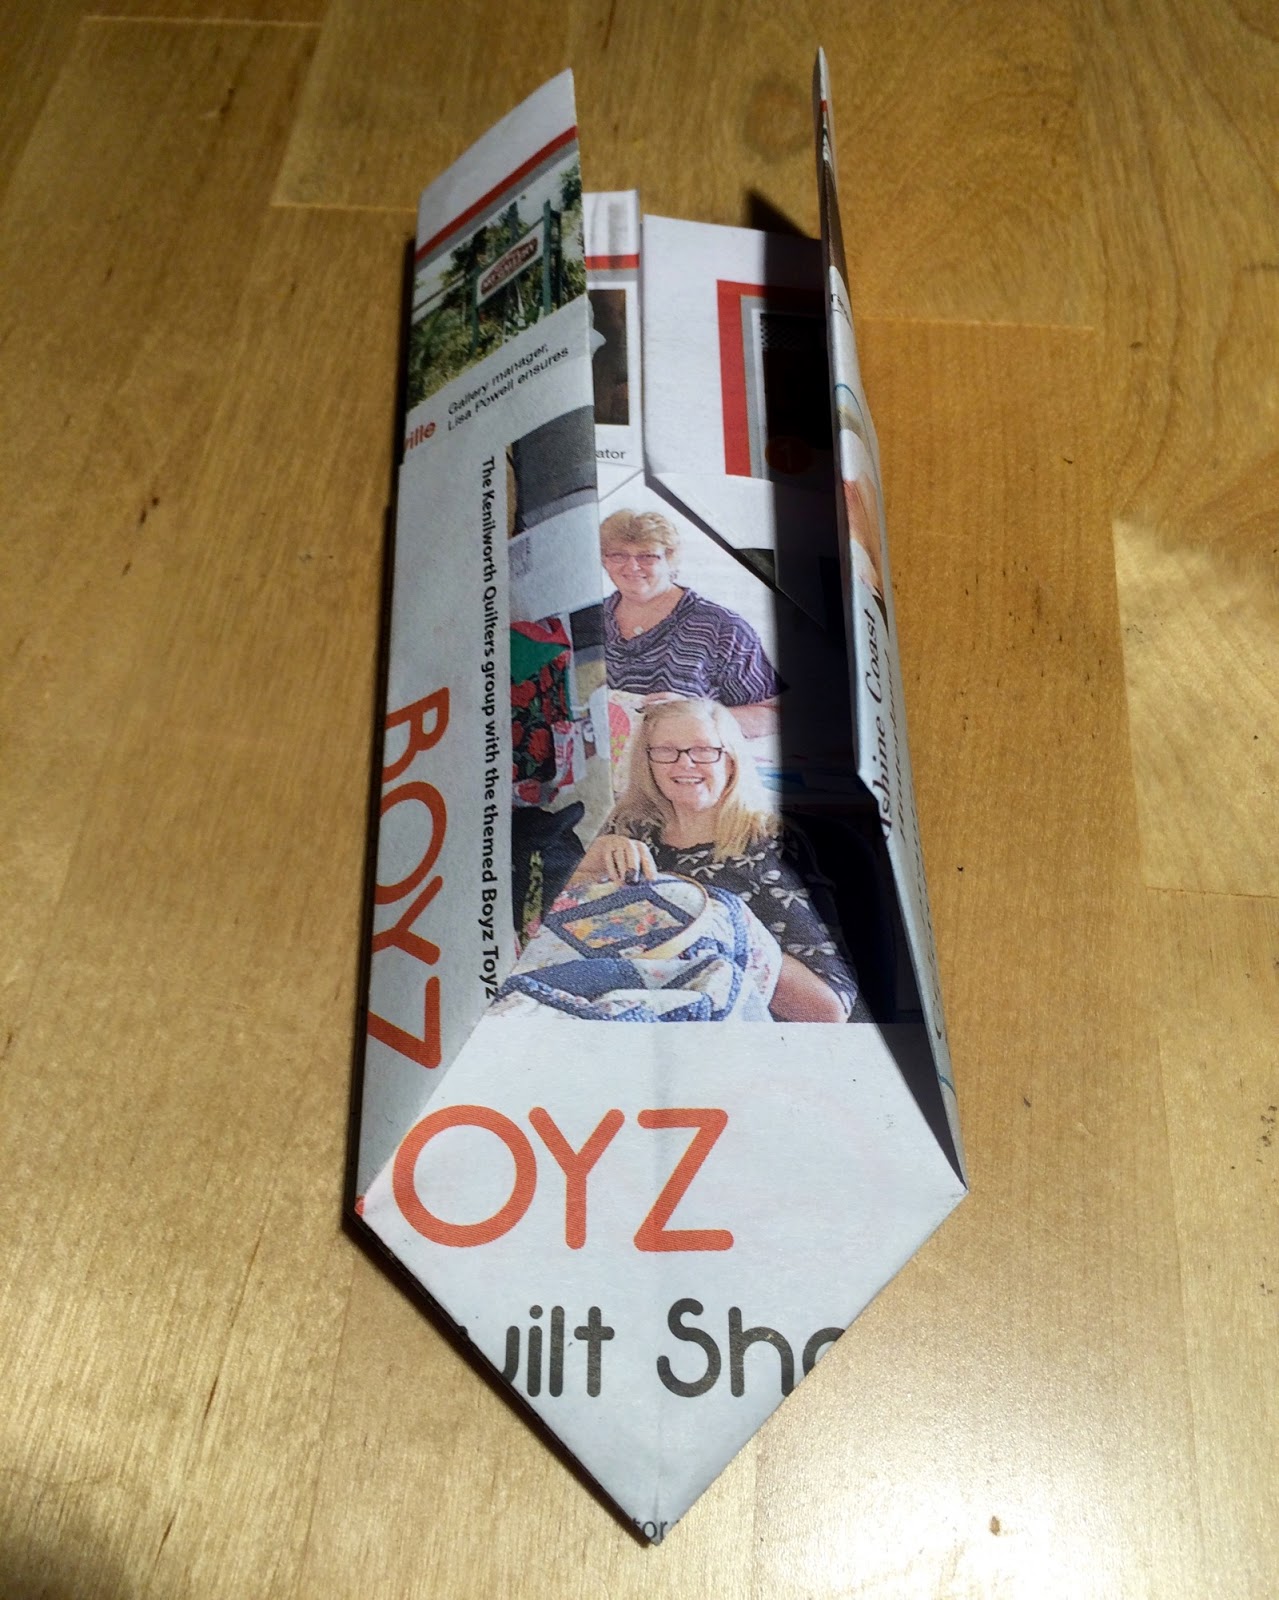
| Open out the base and there is your pot. |
 |
| You can keep the flaps out or fold them in. Fill with potting mix or compost then use as a seed pot or for herb cuttings. |
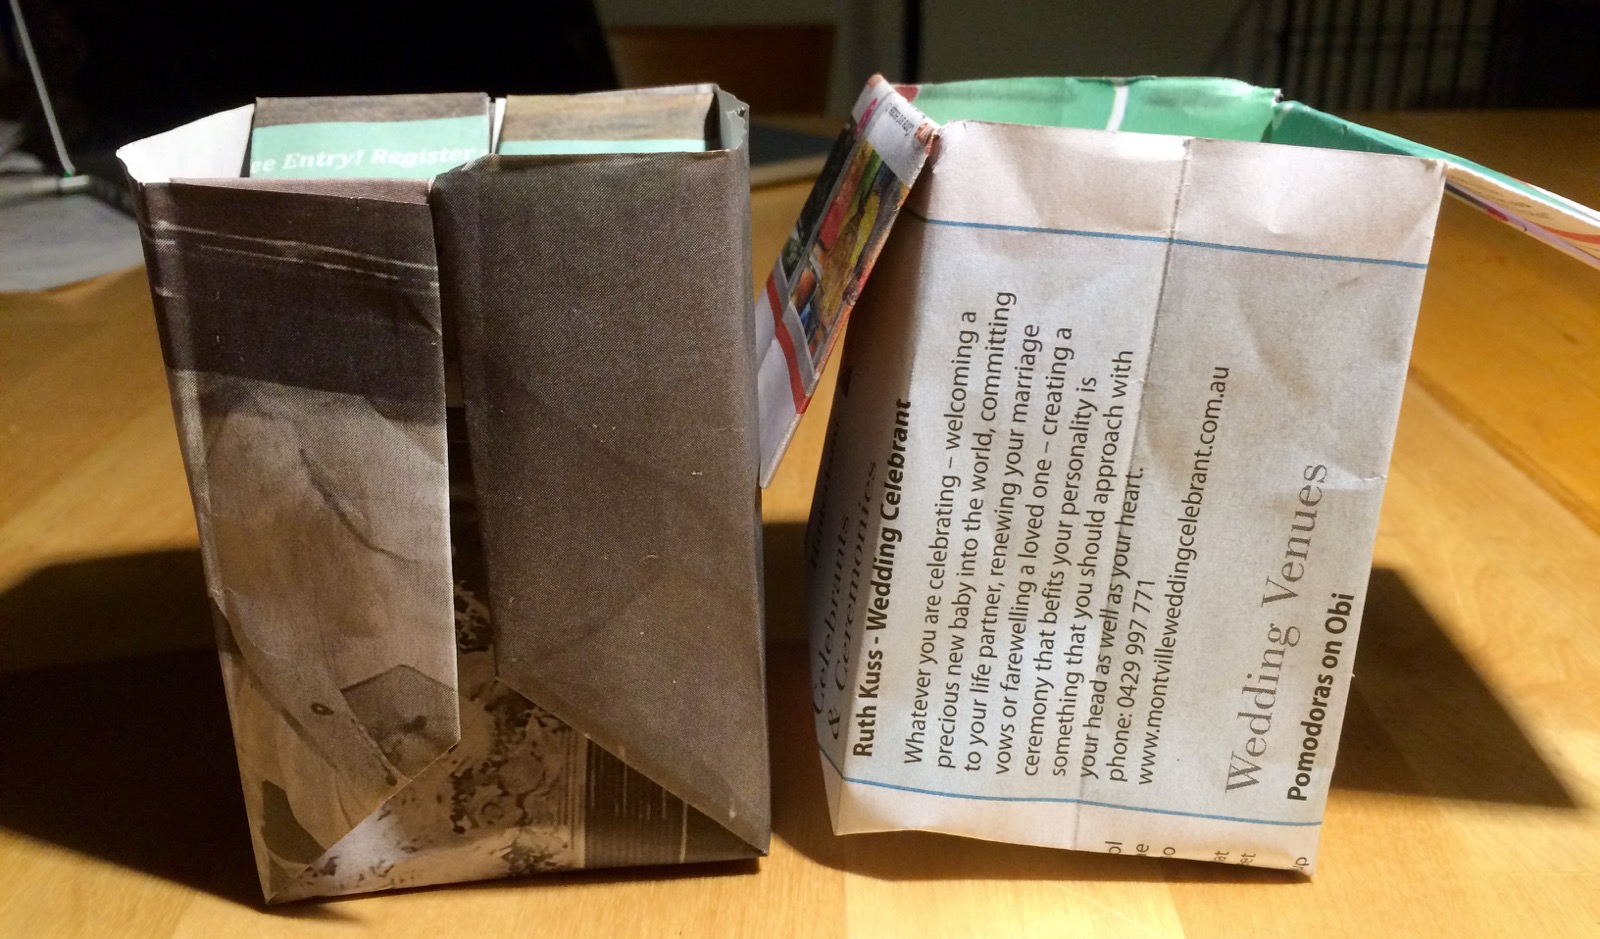
Make a bunch of these origami pots, line them up, fill them with soil and seeds. Grouping them gives them stability.
Keep them on your windowsill or verandah until sprouted and be put in the garden or in larger pots.
It’s a good idea to put them on a tray to avoid seepage on your bench.
They can be kept folded and flat, so it’s a nice idea to have some ready for when a spontaneous planting moment arises and you need some little pots ready to go.
Enjoy!
What other origami or paper pots have you found simple and easy to make?
I just use toilet roll cores and put 4 cuts into the bottom of them and fold them in to form a base – instant seedling raisers.
I love the simplicity of that method. Also quite robust.
I have a little wooden pot maker that I used to use with children in my classes. They loved rolling the newspaper to form the pots, filling them with soil and planting little seedlings to take home. Now I know a toilet roll core is just as effective! I like the idea of the origami pots too because they do offer more room. Will have to go find the newspaper!